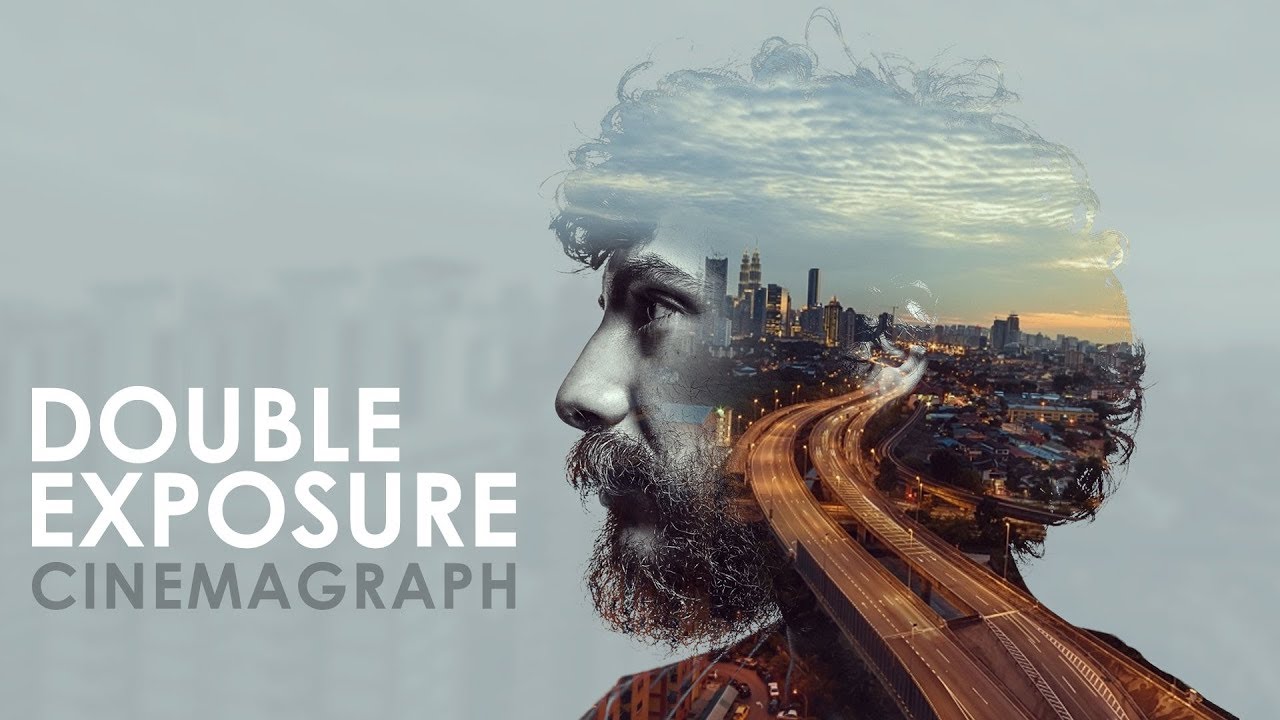
Double Exposure Cinemagraph – Photoshop Tutorial
bhadra 0 Comments Photoshop
Hello everyone in ultra-modern tutorial we see tips on how to create an top notch double publicity animation or cinemagraph utilizing Adobe Photoshop okay, so let’s get to it okay, so let’s go forward and open Photoshop and then I take the photo you’re going to be utilizing or you should utilize the equal photograph. I will be utilizing here you can to find it down within the link from description under And now the first thing that you are going to do is to cut the mannequin from the heritage So I will probably be making use of the rapid selection instrument to do this And i will try to make a determination. It will have to be convenient considering that now we have a white history so just attempt to quilt all of the areas in right here alright and now i am gonna open the opt for and mask and i will try to make stronger the hair determination as you’ll discover we do not need a rather just right selection for the hair So we will be using The refine area to do this however first i will ensure that intelligent radius is on and i’ll try to enhance The hair part or you understand carry back one of the most hair we don’t pick All correct now and i’ll do the equal for the beard All correct now in this radius in here we will put around 40 pixels to 30 And this may occasionally enhance it much more and i’ll press ok, all proper now, we’ll apply a layer masks On the determination by means of one click click on this layer mask icon and you will find now we have a layer mask in here now i am gonna press alt or option And that will one click on the variety masks and this might permit me to enter the layer masks mode and as you will see, we nonetheless have some gray in right here and slightly little bit of dark areas throughout the white area in right here, which is our choice All proper.
So we have got to get rid of this greatness in right here that we have now making use of the dodge device and burn software so i would change to my burn tool in here and in the variety i’ll put shadow and for the exposure i’ll put round forty to fifty percentage and the relaxation are getting rid of this grey areas in here as you will see just like this and i would do the equal in here attempt to in finding All this subject that’s gray in here All right. Now I consistently switch to the evade software and i might do the same however this time i’ll make sure that the range set to highlights and exposure set to 50 to 40 percent And i will go this time to the white area in here and i will get rid of this grey areas that we’ve All right now I consider that we have a decent selection which is continually just right and Now we can exit from the layer masks with the aid of one click on this residue in here Now we have now our resolution.
All right. Now i am gonna create a brand new file. So i will go to file new and i’ll put 1924 dwell in a default height 300 in decision and RGB in automobile mode and of path that you would be able to decide on at any place Width and top you want you are able to do that and ever press good enough All correct now i will switch to my move software after which i will go and drag this photograph and open it in right here o.K. Now we will zoom out and our press ctrl T or command T after which i will press shift additionally, you realize shift choice on a Mac and they’re going to drag it down So it’ll match with the canvas and i will put it down slightly bit. So the shoulder will match Then we are going to make it a little bit higher. So Will center it just proper right here, after which I would need click on this assess mark All right. Now i’m gonna create a new background. So we are going to pick this history in right here it’s white and i’ll go to changes and i will choose stable color and i will probably be utilizing a grey color Or perhaps i might add somewhat bit of color to it perhaps a bluish color I think blue so they can be just right.
Well, you realize just a bit little bit of blue that’s You blue so i’m gonna preserve it like that and the whip is k All right, and i will delete this historic background All proper now i’m gonna open the video file that I might be using which is this one and Of path, you will see that it down in the link from description beneath, you already know, simply download this if you want to comply with along And i will just take it and open it in here And it’s going to open as a wise object and that is what we want so i am gonna one click on this investigate mark to commit to alter and then i’m gonna replica the same slightly masks that we’ve in this one so that you could do this i’ll press alt or choice on my keyboard and then i’ll hover above the Slide mask and we are going to need click on it and drag it to This video file that we’ve got in here as one can find there’s a little little bit of preview of the lion mask Which is signifies that we’re gonna make a replica of it and i would just let’s go and there we go we have the equal night masks applied on this video file – Now i am gonna hyperlink this chain that we’ve in between the video file in right here and the layer masks So i’ll just need click on this chain and it’ll disappear which means that that there is no hyperlink Anymore now the intent why we did this with a view to modify or you understand move this video file by myself, and we are able to do the same for the lamb ask but we want to do it for This video file.
I’m gonna decide upon it and i’ll press ctrl T or command T and i’ll make it bigger As you will see we’ve this street as i would like it to be aligned with the shoulder of the model but in addition with the neck so i’m gonna rotate it just a bit bit And i would are trying to do that perhaps i would make it greater As one can find i need it to be this Like this maybe i will rotate it even more and of direction you can use anything Video you wish to have or anything position you want for this video? However if you wish to use the same as i am utilizing With the equal proposal i’m doing now you can do that okay, I consider this will appear just right So now we won’t click on this verify mark to commit the change All right. Now i’m gonna make a replica of this model layer in here once more by urgent alt or choice they’ll take a duplicate of it and put it on high and then i’ll exchange the blending mode of it to lighten All proper now I have to delete this phase with the intention to see the avenue that we just modify it with the intention to try this we can use our brush a general brush and Black as my foreground color and in addition i’m gonna make the plasticity of the brush to round 25% All correct, and i’ll be certain that i am deciding upon the land mask and i’ll variety the leading In here that allows you to see the road it can be all concerning the avenue All proper, so some thing like that and that i think there’s a an earring here, so let’s have a look at if We hold is visible.
So The road will seem like it’s going within our ears it will be interesting. So i go to try this. I relatively like this concept of the street going by means of the ear Yeah okay now i would like the eye of the model to be visible to be able to try this we will go back to the video file after which i’ll decide upon the layer masks of a and again I can be using the identical approach so i will delete utilising a black colour So i am simply gonna delete this phase so you’ll find the eye of the mannequin and from the nostril in here and that i consider i want the build to be black so it is going to in shape With the forest that we’ve in here Yeah, some thing like this it could appears fascinating All proper now I consider i’d go back to the first layer in here and i will delete even more on this phase? Yeah, anything like that every one right Now let’s go back to the video file and once more i will decide upon the layer masks and it will simply cover this house that we just printed in right here All correct so our last factor that i’m going to do is to add a little bit little bit of adjustment and likewise I wish to add whatever in the heritage.
So i am gonna use the identical video file that i have in right here. I’ll add it in the heritage and i am gonna blur it and make its black and white So i’m gonna make a copy of the video file with the aid of pressing alt or choice once more, and i am gonna drag it underneath this mannequin layer that we have now in here and so as to delete The layer masks considering i would like it to be The entire video in here so i’m gonna correct click above the layer masks and opt for delete night time masks And you will find we have the entire video Now i’ll go to image changes and the better opt for black and white And you recognize considering it can be a clever object. I will follow the adjustment in it as a wise filter All proper. Now we now have it is black and white. All proper. Now i’m gonna add the blur to it So we’ll go to filter and witch with blur Gaussian blur and i’ll add round Seven to 10 radius pixel, so i am gonna maintain it line and opus ok after which i will change the blending mode of it to delicate gentle and i’ll slash the opacity to around 50% And that you would be able to also return to the history that we’ve got in right here and you know in view that it is an exceptional color.
That you could simply double click on it and change the color to some thing you wish to have if you want to add extra colour to it or you already know make it brighter. I feel it could be fascinating so as to add slightly bit of colour to it or even make it darker as you’ll discover I think this appears quite good and Orbis. K. All proper now i’ll add a level adjustment so it decide upon this first layer and i might go to adjustment and i will select level adjustment after which i’ll go to RGB in right here and i’ll opt for pink And i’ll add somewhat bit of colors from this slider that we have now in right here So just a bit bit and i’ll go to the blue Channel now, we will do the equal Add just a little bit of colors that’s like this.
I believe it looks relatively exciting all right now it can be time for us to animate this so i’m gonna open the timeline in here should you are not able to find it simply go to window and decide upon timeline all right now i will one click on this tiny creates video timeline and this would create it but as you will see the video is far longer than the other file except for this stage adjustment, which is following The length of the video so that you can comfortably alternate that by means of simply seize it like this however we’re no longer gonna do the same for the video in right here we’re gonna modify it by myself considering the fact that it can be a clever object if you want to open it by double click on on it like this and as you’ll discover it will open in a new tab and that i additionally want to make it loop seamlessly so this is the correct solution to do it to open it in a new tab after which regulate it to anything you want after which save it due to the fact it’s a clever object and likewise the video i’m using As you can find it’ll from the morning and then it will lead to night time and due to the fact it’s longer than 5 2d if I simply use this primary section You can’t see the the night time phase and we wish that so i’m gonna begin it from here I consider simply proper feel right here So we just crop this section like this Then i’ll go to the time in here and i will double click on on it and it’s going to put 5 seconds And we are going to simply to be special.
It’s 5 seconds like this and i’ll piss okay Now i’ll crop it again like that and now we’ve got 5 seconds, however it is not going to loop seamlessly. We need to do that so first as one can find, we’ve got it in here in a Video team so i’m gonna correct-click on on it and prefer ungroup layers So we’ve handiest the video in here after which i’m gonna create a copy of this video layer by dragging it to the brand new Layer icon, and now i am gonna choose this copy that we simply created and i’ll go just right about the core just proper about here and i will reduce it and now we’ve got two ingredients So now we all know that the last body of this section will healthy the primary frame of this phase so i’m gonna decide upon this part and pull it to from the opening and i will do the identical for This 2nd part it is going to begin from the end and then i’ll go to the center of this section simply right about right here and i’ll crop it just like that and they’re going to do the equal for this different part in right here will go just constantly concerning the core and i will crop it and Now i will add a fade transition in the end of this section and a fade transition within the establishing of this phase So i would go to the unusual is an icon and i will take this fade and i will drag it to the tip of this part and i will do the identical for the establishing of this phase.
And now if I preview it by way of one click on display button you will discover it is going to loop apparently As you will find o.K. Now i will shut this tab and i’ll make certain to press here to avoid wasting the alterations in the intelligent object and Now we have now the time matching with every layer in here So let me put the time to 5 second and now we will preview it and notice it in motion And as you can find, it appears quite just right. So now it’s time for us to reserve it. So we’ll see how to reserve it as a GF or a gif format and we are able to also see how to save it as a video.
So in case you need to post it on Instagram. And of path, we all know that Instagram would not enable a Jif structure So we’re gonna do that. So let me stop this and then i will go to file Export and they’ll choose store for net legacy So we’re gonna see how to reserve it as a GIF or a gif structure so gonna watch for it to growth alright, so it is finished growth in now as one can find it can be a fairly big file and if we save it like this it will be round fifty three megabytes, which is quite not good for the net so the very first thing that i am going to do is to put down the size of a to 600 and We is not going to get external of it to apply my alterations And once more, i will look forward to it to growth as you’ll find All right, as you can find it is already Smaller for the online.
So the preset that i am making use of right here is of direction you ought to decide on a jf format or care structure and for the color algorithm i have in here perceptual selected and diffusion in the second one and simply uncheck Transparency seeing that we haven’t any transparency in here and for the colors it is without a doubt as much as you if you want to use 128 the scale might be lowered but in addition, the colors could be diminished for me. I maintain it 256 given that i have a number of colors in here and i want it to be in a relatively excellent color surroundings and For the info, I put 100% and whites within the matte and in the internet slab 0% and for the lossy you could put around 10 to twenty I think i’m gonna put about 20 and you already know simply preserve the whole thing else the same and click save and , provide it a name so i am gonna title it busy exposure and they are going to click shop okay now let’s go and preview the reward that we just created so we will open it and there you go Have a relatively good cheer structure that is competent for the web All correct.
Now, let’s have a look at learn how to render it as a video so once more, i’ll head to file export and i am gonna opt for render video and i’ll supply it a reputation first. So i’m gonna identify it busy publicity can And you don’t simply pick a folder i’m gonna opt for the identical folder in here and for the formats i’m using is H.264, I feel it can be the high-quality one and presets of direction excessive excellent that you would be able to alternate it to medium if you need the size to be decreased and you recognize just maintain the whole thing in right here the same and click render And once more, we’re gonna wait for it to development All right now let’s go and notice Our video which is this one so it is participant And there we go.
We have now a really excellent Double exposure animation that is in a position for Instagram.
Posted in Photoshop


