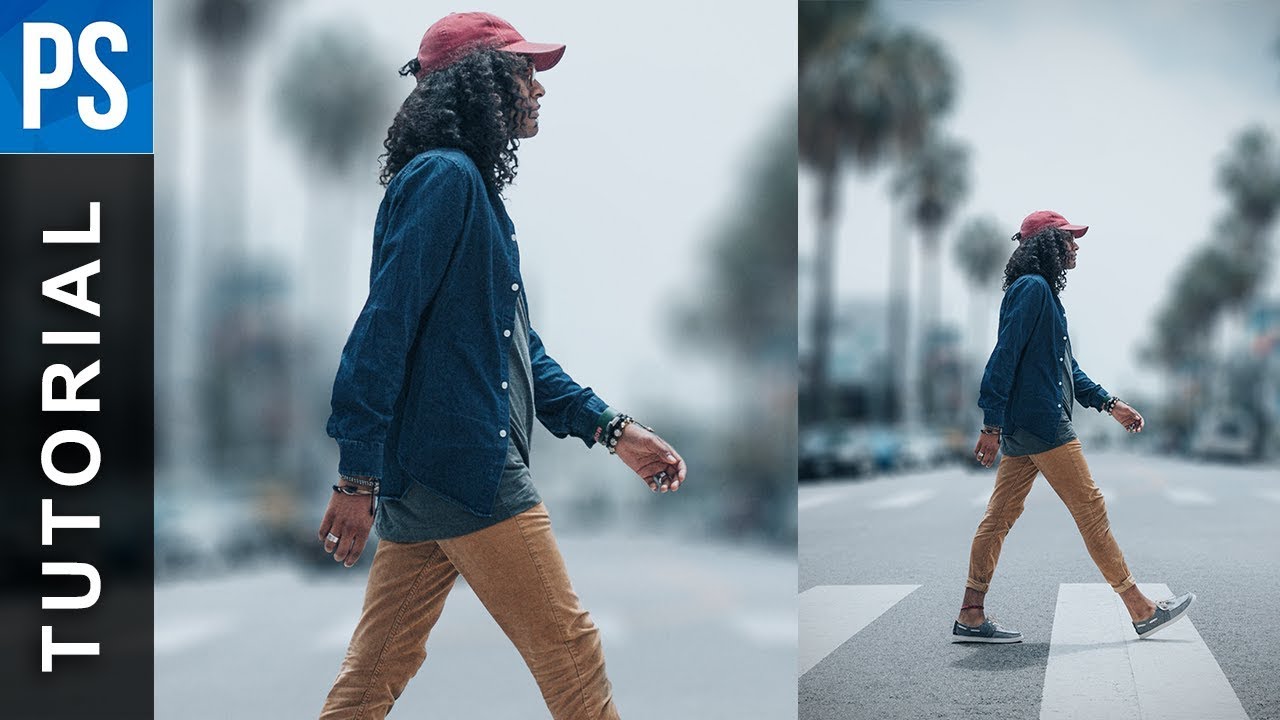
How to Blur Backgrounds in Photoshop
bhadra 0 Comments Photoshop
Lets get started! Head over and select the Quick Selection Tool. Carefully select the entire person. Hold ALT to subtract from selection. Since this part is time consuming, I will speed it up! Once you’re done. Head up to Select and Mask. Select the Refine Edge Brush Tool. Only focus on the hair, at the moment. Output to: New layer with layer mask. Then hit OK. We’ll still need to do a few touch-ups. Hold ALT + click on the mask. Make sure your foreground color is white. Then select the Brush Tool. (B) Change the Brush Mode: Soft Light. Now, go over the parts of the hair to reveal it better. Change your foreground color to black. Mask out any areas that are still left behind.
Hold ALT + Click on mask. Turn back on the bottom layer. Hold CTRL + Click on the mask. This will make a selection of the person. Select the bottom layer. Then head up to Select > Modify > Expand. Expand by: 5 Pixels. Then hit OK. Then head up to Edit > Fill. Change the Contents: Content Aware. Then hit OK. Hide the visibility of the top layer. As you can see it did a pretty good job. CTRL + D to select. Turn back on the bottom layer. Make sure the bottom layer is selected.
Head up to Filter > Blur Gallery > Tilt-Shift. Crank up the blur so we can see it better. Now drag the guides down. I will drag this slider up, to blend the blur better. Right there looks pretty good. Next, blur around 50 px. To keep it realistic. Keep it lower than 20. Once you’re done. Hit OK. Head over and select the Mask. There’s a few touch-ups I need to do. Head over and select the Brush Tool. (B) Make sure Mode: Normal. Foreground color black. Carefully mask out areas you don’t want. Take your time. It’s starting to look pretty good. Make sure the mask is selected. We can now bring back some of the shadows. Make sure the Brush Tool is selected. (B) White should be set as your foreground color. Only add where the image is not blurred. That looks much better. Create a new adjustment layer > Color Balance. – 19 | 0 | + 14 Then hit close. Have the top adjustment layer selected. CTRL + SHIFT + ALT + E (Merge all visible layers.) I’m going to rename this to merged. Head up to Filter > Lens Correction.
Click on the Custom tab. Then change the Vignette Amount: – 40 Then hit OK. I’m going to add noise. This will make the image look more realistic. Hold ALT + create a new layer. I’m going to name this > Noise. Change the Mode > Soft Light. Check fill with 50% Gray. Then hit OK. Head up to Filter > Noise > Add Noise. Amount: 5% | Gaussian | Monochromatic Then hit OK. Right click > Convert to Smart Object. Head up to Filter > Blur > Gaussian Blur. I’m going to set the Blur Radius to 1.5 Pixels Then hit OK. Once you take a closer look. The image itself looks natural. .
Posted in Photoshop


