Photoshop CC Tutorial: Creative Paint Splash Effect
bhadra 0 Comments Photoshop
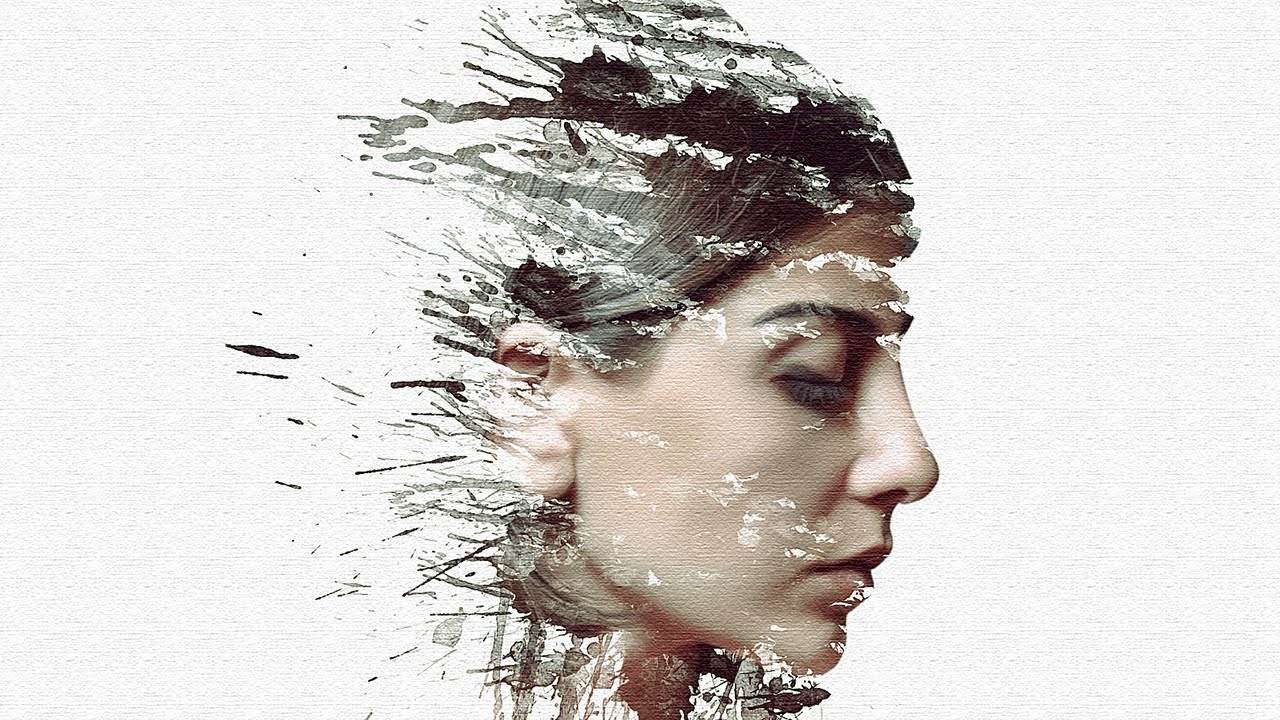
Lets select the Quick Selection Tool. We need to extract the model from the background. Carefully select the entire model. Hold ALT to subtract from selection. Head down and select mask. Create a new adjustment layer > Solid Color. Make sure it’s white > Then press OK. Bring the adjustment layer below the model layer. Duplicate model layer > CTRL + J. Hide the bottom model layer. Right click on the top mask layer > Apply Layer Mask. I’m going to rename this layer to model. Right click > Convert to Smart Object. Head up to Filter > Stylize > Diffuse. Make sure Anisotropic is checked > Then OK. I’m going to apply the effect again. Filter > Diffuse. ALT + CTRL + F Then hit OK. Head down and create a new group. Drag it below the model layer. I’m going to rename the group to Paint Splatter. Head down and create a new layer. Drag it into the new group. Right click on our top model layer. Create a clipping mask. Select our new layer. Make sure your foreground color is white.
Select the Brush Tool. (B) Select one of the Paint Brushes. For this effect, I will select this one. Open up the Brush Panel. Here, we will be able to rotate and resize as needed. Take your time when adding the effect. You can easily resize your brush by using your bracket keys. Increase Brush. Experiment with different brushes. I want to rotate the brush, to match the angle of her neck. Continue adding brush strokes. When you’re done, hit close. Select our model layer. Head down and create a new adjustment layer. Select Curves. I’m going to select the Blue Channel. Select the bottom of slider. Drag it up slightly. Bring the middle of the slider down like so.
Select the Red Channel. Drag the bottom of the slider upwards a tad. Then the middle down. Next, Select RGB I’m going to increase the midtones slightly. and increase the shadows a tad. Hit close when you’re done. Make sure our top layer is selected (Curves) CTRL + SHIFT + ALT + E (Merge all visible layers) I’m going to rename this layer to Merged. Head up to Filter > Sharpen > Sharpen More. Now, the image doesn’t look so dull. Adjust the opacity if it’s too sharp.
Duplicate the top layer > CTRL + J. I’m going to rename this layer > Filter Gallery. Head up to Filter > Filter Gallery. Head down and select the Texture Tab. Select Texturizer Scaling: 80% Relief: 5 Then hit OK.
As found on Youtube
Posted in Photoshop


