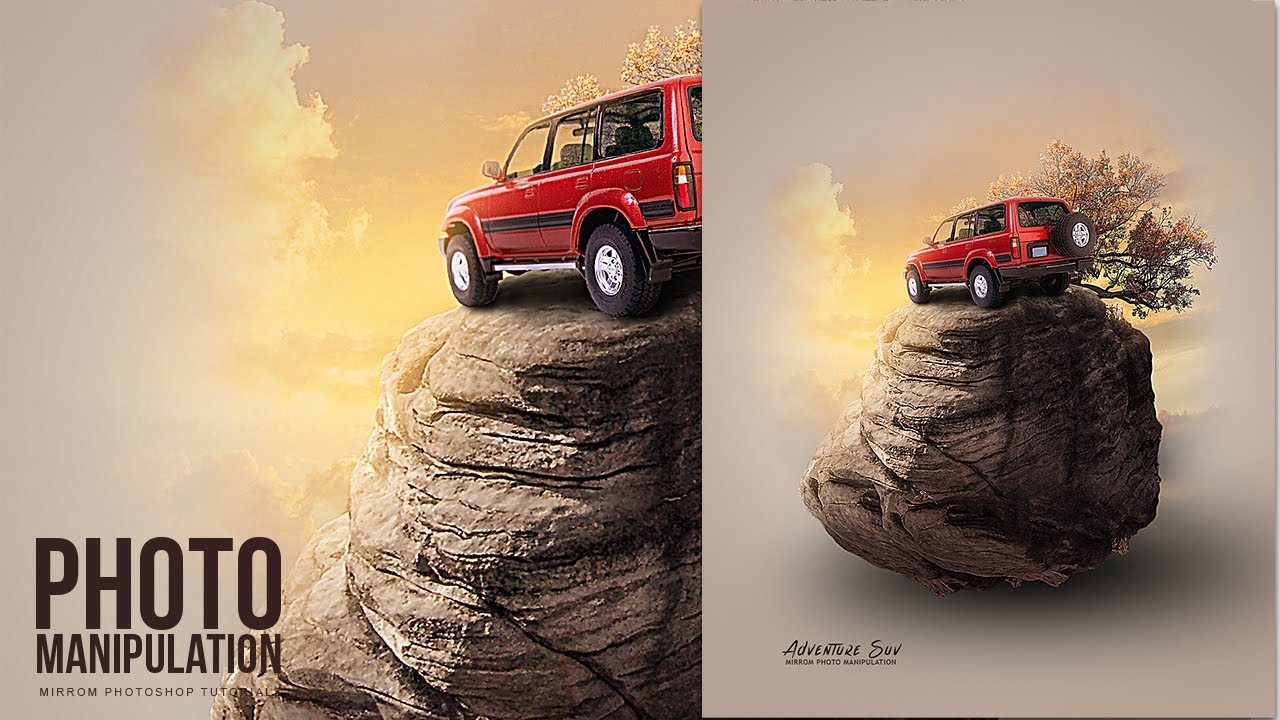
Create a Photo Manipulation of Adventure Suv Photoshop Tutorial
bhadra 0 Comments Photoshop
Set up a new document size 1600 x 2000 pixels, 300 dpi Adding a Gradient Fill adjustment layer Enter the color code #eae3d9 Enter the color code #b5a294 Hold Shift + Click layer. Create a new group (Ctrl + G) Create a selection using the Quick Selection Tool Hold down Alt. Subtract from selection Now press Add a mask to delete Go to Select > Select and Mask (Alt + Ctrl + R) Drag and drop layers to move to the main page Right-click on the layer mask thumbnail and select Apply Layer Mask Duplicate layers three times (Ctrl + J) and rename the layer Select the Rock2 layer and press (Ctrl + T) to resize Right + Click open Free Transform menu Select the Rock3 layer and press (Ctrl + T) to resize Add a Mask and use brush tool to remove Click Indicates Layer Visibility to hide the Background Press Shift + Ctrl + Alt + E Go to Filter > Camera Raw Filter Adding a Vibrance adjustment layer Adding a Brightness/Contrast adjustment layer Press Ctrl + I to invert a layer mask Set Foreground Color to white and use Brushes Tool (B) Adding a Brightness/Contrast adjustment layer Adding a Color Balance adjustment layer Create a new layer using the brush tool to create a shadow Add a mask Create a new layer Right click on the layer and select Create Clipping Mask Add a mask Adding a Hue/Saturations adjustment layer Adding a Brightness/Contrast adjustment layer Hold down (Alt) to pick a color Change the blending mode to Screen Create a New layer and Clipping mask Change the blending mode to Screen Use Polygonal Lasso Tool Resize layer (Ctrl + T) Adding a Vibrance adjustment layer Hold down (Alt) then Click create a new layer Use Dodge Tool to lighting Create a New layer and Clipping mask Change the blending mode to Screen Adding a Curves adjustment layer Adding a Color Balance adjustment layer Duplicate layer (Car) Ctrl + J Change the blending mode to Multiply.
Select Car copy layer and add a Mask Use brush tool to remove Create a new layer below the Car layer. Create a shadow with a brush tool Ctrl + Click layer thumbnail (Rock) to make selection Ctrl + Shift + i to reverse Adding a Brightness/Contrast adjustment layer Hold down Alt and then create a new layer in the Layers Adjustment Use a Burn, Dodge tool to make shadow and lighting Adding a Color Balance adjustment layer Adding a Curves adjustment layer Create a new layer and clipping mask Change the blending mode to Screen Press Shift + Ctrl + Alt + E and change the blending mode to Linier Light Go to Filter > Other > High Pass .
As found on Youtube
Posted in Photoshop


