Sky Replacement With Timelapse – After Effects Tutorial
bhadra 0 Comments After Effects
Today I’m going to show you how to do a sky replacement I used this effect a lot in My 2017 video. If you haven’t seen it yet, go check it out. I promise I like it 🙂 now a lot of people use sky replacements in their videos but most the time It doesn’t look that natural. I want to show you guys a few tricks that I use that will help improve your Sky Replacements To demonstrate, I’m going to use this clip. In order to do this you’re going to need two clips. You need your real-time shot, and then you’re gonna want a time-lapse I’ll show you the normal clip.
It just has me walking on this Ridge in Hawaii. So I shot that video in 60 frames per second, and I’m going to slow it down to 40% That’s gonna Make it look like it’s 24 frames per second. Once I’ve done that, I’m going to go up to file and I’m gonna click on the Adobe dynamic link. And what that’s gonna, do is it’s gonna open up my video in After Effects and whatever changes I make the video in After Effects will be applied to my video in Premiere Pro Hope that makes sense. It took me a while to figure it out. Once we get in there We’re going to be using the rotoscope tool. So I’m gonna double click on the video down below on this bar here And that’s going to open up a new layer Okay, once I do that. I’m going to hit the rotoscope tool up here on the top and It’s gonna give me this green circle and with this green circle, I’m gonna color in what I want included So it looked like included the whole Clip sometimes it does that.
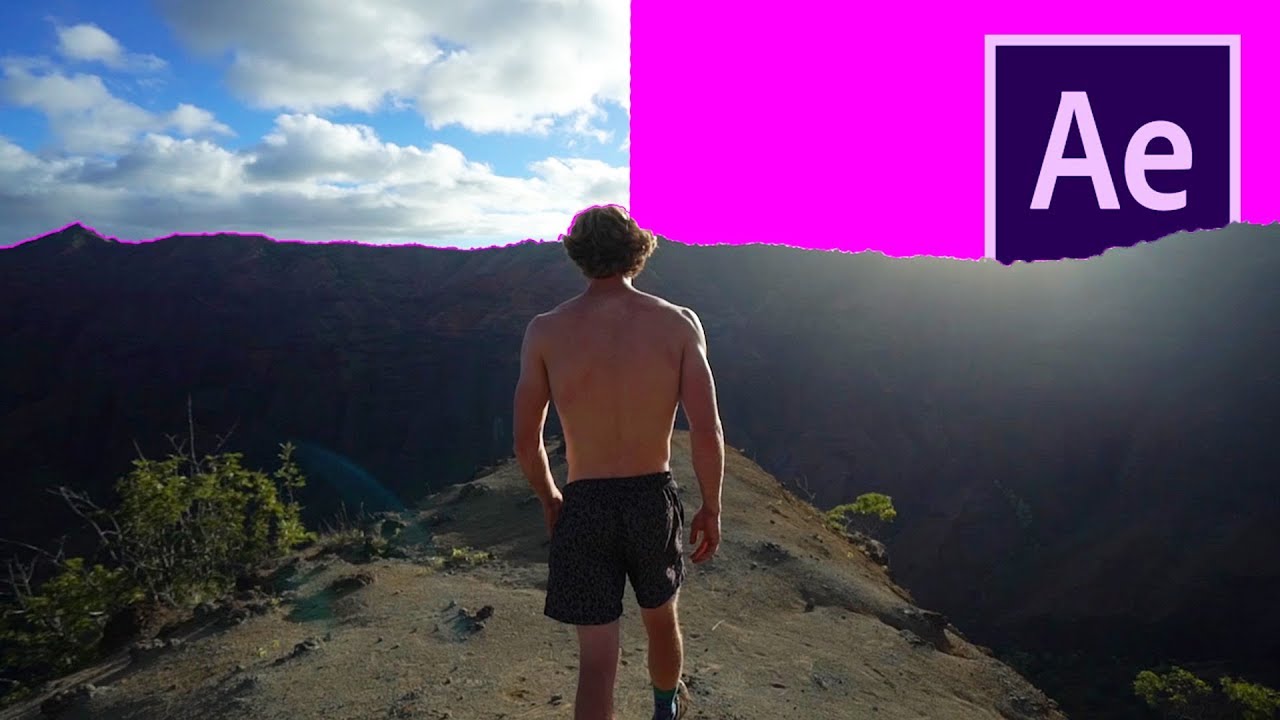
So what I’m going to do is I’m going to hold down the Alt key And I’m gonna draw out what I don’t want, so I don’t want the sky so I’m gonna draw the sky out Okay So you can see the purple line there that looks really good the only thing. That’s wrong is my hair. It has the same Color as one of those clouds, so this is gonna be something that I need to edit frame by frame. Something important about rotoscoping is that Is really important is that first frame you want to make sure it’s perfect because that’s the frame that after effects is going to use To base all the other frames after it. So make sure that you make that first frame perfect So I’m gonna go through, looks like everything is going good except for my hair, so every frame I’m just gonna need to perfect it.
Once I get my hair line below the horizon It’s pretty smooth sailing. Now each case isn’t going to be this easy but since there is so much contrast between the sky and the mountains After Effects isn’t having a problem picking it out. So I’m gonna finish it now. One thing That’s really important when you’re doing these rotoscopes is that you have this gray bar extended longer than the clip. Because if you don’t do that, you will only be able to rotoscope as far as that gray bar Is extended.
So make sure it’s all the way past the clip. You can also make some adjustments if you go up here There’s the feather, contrast, shift edge, reduce chatter. We’re going to use the shift edge. We’re going to drop it Just a little bit since the edge is gonna carry a little bit that light, but if you shift it down It’s gonna take it out. It’ll look a little more natural Okay, so once we have all the clips in place and we’re finished you’re gonna hit that Freeze-frame down below and what that’s going to do It’s going to freeze all the frames in the rotoscope And it’s going to allow you to edit the video in Premiere Pro If you don’t do that you’re not going to be able to work with it and Premiere Pro, so we’re done there now We’re going to go back into Premiere Pro, and this is what the clip looks like I didn’t take a whole lot of time on the hair, so it’s a little screwed up there But ignore that so now that we have the clip there where they nest it, and then we’re gonna add the warp stabilizer What that’s is gonna do is gonna make? That clip really nice and smooth so if it’s not smooth sometimes that sky lapse won’t be super natural and you may have to Tract the object and attach it to the sky, and that’s what I had to doing this one.
It’s a little harder Maybe I’ll do it to Tory about that too. Eventually now. You’re need a time lapse to replace the sky with so I have this time lapse I took in Kauai right in the same area and We’re gonna drag it beneath The clip okay, so when dragged beneath the clip now you can see that the mountains are peaking up on the top now There’s two things you could do you can either zoom in and lower it or in this case? I’m just going to lower it and even though there’s going to be these black bars on top I’m gonna be making it a widescreen video for that cinematic effect, so it won’t really matter So just give you some space to work with so we got it down below the horizon Now we’re to go into the effects tab We’re gonna type in the loom entry color and so this is really important because it’s gonna let your clouds look as if It’s in the environment that you’re in then Like I said earlier a lot of people screw up on this and their sky lapses Do not look good, so we’re gonna tweak it I’m gonna bring down the brightness a little bit mess up the contrast mess with the exposure the blacks Highlights and we’re gonna make it look as natural as possible drop down the saturation a little bit.
Posted in After Effects


