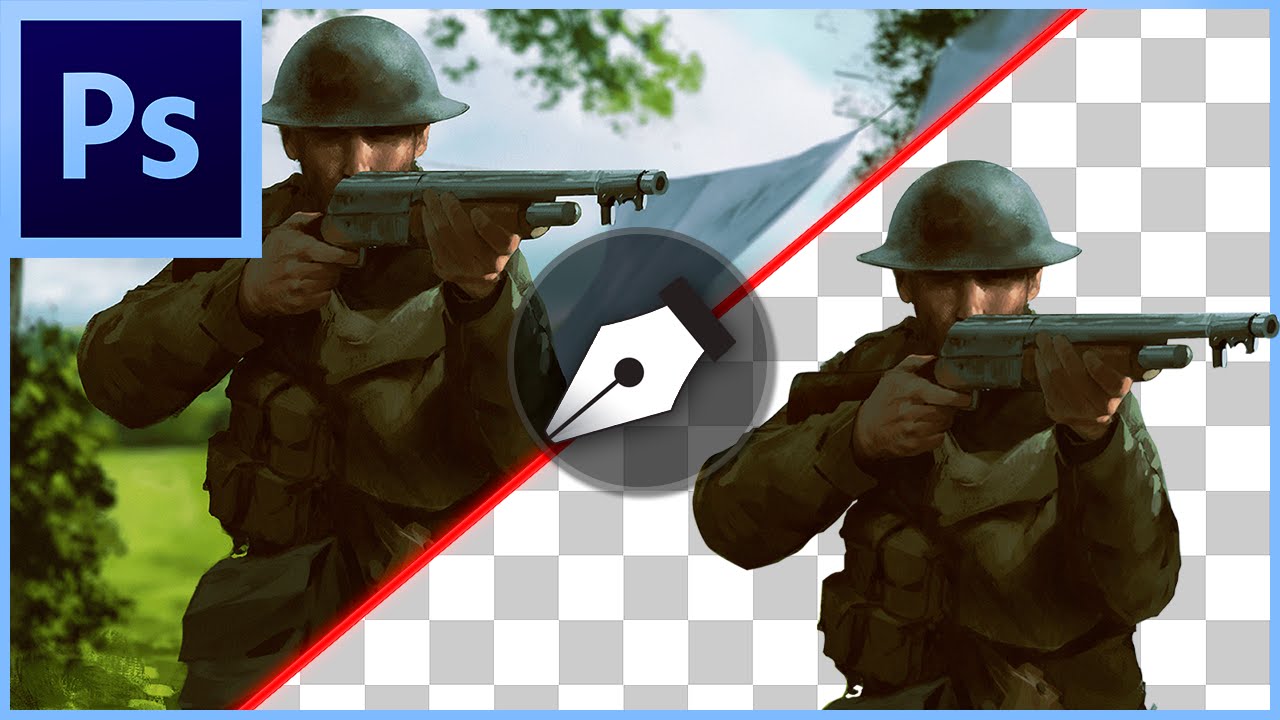
Photoshop CS6/CC: How To Cut Out an Image & Remove/Delete a Background
bhadra 0 Comments Photoshop
I’m going to tell you the best way to remove a background in Photoshop. Now there’s many different tools and ways of doing this. But I like to use the pen tool a lot more because it is a lot more accurate and you could tell the computer. You could get the quick select tool or the magnet one but they have a guess so they’re not very accurate. That’s why I like to use the pen tool instead. To start cutting the image out what you want to do is you want to go over to left side, where all the tools are.
Click on the pen tool. If it’s not selected you can right click and it should be in here, but by default it should be the top one so you should already see it. Once you’ve got it selected what you want to do is you want to, hold alt and using the scroll wheel to go up. Then you want to zoom in. This just makes it easier for your eyes to see what you’re cutting out. For me it just makes it easier because I can see the parts that I’ve missed and the parts that I need to do. Now to start it off what you want to do is pick a corner, mine is normally going to be at the bottom or at the top. What we’re going to do is, we’re going to do a dot to dot type of situation where we’re going to connect them all up at the end and then we’re going to duplicate the layer which will then remove the background. Now to start it off you want to go over here and we’re going to start off in this corner right there. Make sure that you’re on the line and going all around it.
There’s two important things that you need to know about the pen tool. The first thing is that if you normally click, it will give you a straight line. Now if you do ctrl + alt + z to undo it, and do the one where you hold it in. Where you hold the left side of the mouse, it will give you this curved line which is really useful to know. I use it all the time because there is images that I will need to do this. This is kind of a curved line if you look at it, it’s going to be a gap there, so we want our image to look good. Now you want to click on here and drag it in like that. Then to get rid of this you want to hold alt and press on it until you see that little icon symbol.
Now that you’ve done that you just keep going around it and I’m going to speed up the video just to make it quicker for you because it will take a while, and yeah… When you get to bits like this you don’t need to really worry about it too much because you can cut it out later on, so that’s what we’re going to do. We’re just going to leave it for now and just carry on doing this. As you can see this is the type of situation where you would want to do this sort of thing. Where it will save you a lot of time, and it is quiet accurate but you need to make it a little bit smaller and there we go. Now it looks a lot better rather than having to go around it. Now that we’re near the end what you want to do is, to zoom out a little bit so we can see the image.
Yours is going to be a little bit more different to mine. But mine is cut in half sort of thing, so I can’t really do anything about that but what I’m going to do is just going to do a rough sort of selection around it. To connect it up you just go back to the first dot and you left click on it when the icon pops up with a circle. Once it’s all connected you will see that it is now a line, all the dots are gone. You just go over to the top here go to selection. Make sure you have everything as me. Make sure the feathering is at 0%.
Unless you really do want feathering, but without feathering it makes it sharper and whats what we’re wanting. We want a sharp outline which will look good. Anti-aliasing is going to be on and new selection. So once you done that press ok. Then we’re going to zoom out a little bit more so we can actually see what we’re doing. Now that you’ve got it selected, this is the easy part. All you do is, do ctrl and j. Now, what that’s doing is that it’s going to duplicate the layer, and we have the background still on.
But if we go over to the top and we hide this one. You can see that the background is now gone. As you can see it is really good and sharp outline. This is exactly why I prefer the pen tool. It gives you a really nice result, compared to other tools where you might get the white outline. The one thing you want to make sure is that the bits that you left out that was in inside the image.
Let’s say that they had a piece like this, where you could still see a bit of the background. You just want to go back to there. Use the pen tool again and just go around it really quick. It doesn’t have to be too perfect because the selection will make it look good. Go over to selection again. 0% and press delete.
For the very last step what you want to do is just bring in a background and have a look at your result. If you’re happy with it, if you’re not then you could always go back. But for me I think mine looks pretty good and you want to just stretch the image to the right place. Make sure that it is underneath. Once you got the background you can now move over the object, where you want it to go.
For me it would look a little bit better if I moved him here and made him a little bit small. To actually make him look like he’s there. For me all I got to do is make him the right size. So probably a little bit smaller, that would look good. Then you want to go over to blending options. Change the colour, make it look like the theme of where his at. So for me it’s kind of like a blueish sort of, darker. Dark blue a little bit like that and just go through the effects. See which one looks good. We don’t want to much.
Maybe this one. Anyway this has been the best way to remove a background in Photoshop. Right now it doesn’t look very good, my image because it doesn’t blend in with the right colours. But I can easily edit that later on, right now I’m going to leave it like this. But the whole point of this video was to show you how to remove a background and get a really good result out of it. Now even if you’re accurate like me you will get moments where, you do get a little bit of a outline.
To remove that, it is really simple. All you got to do is, right click on this go to blending options. In here go to stroke. Make sure you put this to 1. Go to inside and then once you done that you go over here. Where it says blend mode and make this go to screen. This will just cut it out and it is now gone. If you’re outline is more thicker you can easily just increase this and it will get rid of more. But for me I think this will be ok. Let’s zoom out and yeah. That is pretty much it.
As found on Youtube
Posted in Photoshop


