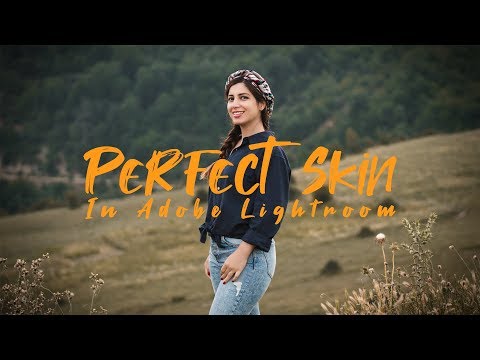
How to Edit Skins in Adobe Lightroom With The New Texture Slider
bhadra 0 Comments Light Room
Let’s find out how to use the new Texture Slider for skin softening in Adobe Lightroom. What’s going on guys? Ehsan is here with another quick Lightroom tutorial. For a long time, I had to use Photoshop for skin softening but with the new Lightroom update and the new Texture Slider, I’m able to edit my portraits just in the Lightroom and in this video I’m showing how to use this new feature for skin softening and also add some details to the hairs. But before that, for those who are new here in this channel I’m doing photography and filmmaking tutorials, tech reviews, and some Vlogs so if you are interested in those areas, be sure to subscribe and also turn the notification on to not miss any other videos and now let’s get right into it. The Texture slider produces results that lie between the Sharpness and Clarity sliders. With the Sharpness slider, we’ll get lots of noises and also it won’t increase the contrast.
With the Clarity slider, the image will become very contrasty and saturated with some details. It mostly increases the details by adding contrast to highlights and shadows. Compared to the clarity and sharpening slider, the Texture slider does not increase saturation and it provides an effect significantly more targeted to edges. It increases or decreases sharpness in mid-frequency details. I’m gonna use the texture slider mostly for skin softening and increasing texture on the hairs.
First, let’s do some raw conversion. I’m adding a little exposure and contrast, decreasing the Highlights and increasing the Shadows. Let’s Move the Blacks to the left and add some clarity. For most of my portrait editing, I increase the Vibrance and decrease the Saturation a bit to get better and reacher colors. Now let’s add an S curve to get more contrast and also move the Blacks dot up a bit to make the shadows a bit brighter and get more of an old camera look. Let’s play with the HSL/Color tab to create the look we want or you can simply apply any LUT you like for this part. I personally prefer to create the look I want for each of my shots manually. Be careful with the skin color. I think it good enough so let’s add some sharpening by increasing the Amount to 60 and Masking to 40, this is my standard sharpening settings. It has some noises so let’s add some noise reduction as well. Enable the lens correction and add some Vignetting for the final touch. To use the Texture slider in a specific area, select the Adjustment Brush.
First, reset the brush and then move the Texture slider to the left to about -70 for softening the skin. Select a color for the brush to see the areas you are brushing and then brush on the skin. Be careful with the eyes and hairs and if you paint on any unwanted part by accident, you can simply remove them by holding the Option or Alt key. Let’s remove the color and see the results. As you can see we have a soft and natural skin now. Add a new Adjustment Brush to work on the hairs, this time move the Texture slider to the right for about 50 and like before brush on the areas you want to enhance the details.
I’m brushing on the lips, eyes, and eyebrows to add some detail to them as well. Let’s remove the color again and see the result. It added a good amount of detail on the hairs. I’m also using the Adjustment Brush to brighten the eyes and whiten the teeth. This is before and after the Adjustment Brushes. Now let’s see the before and after the process and as you can see we have nice and soft skin with lots of details on the hairs without using the Photoshop. This feature is good for a normal and fast edit and for most of the times, it is more than enough especially when you are editing for the social media. Thanks for watching if you find this tutorial helpful please give it a thumbs up and share it with your community. If you are not subscribed yet consider subscribing and also hit the bell to be notified for future videos. Share your results with me and I will see you in the next video. .
As found on Youtube
Posted in Light RoomTagged edit skin in lightroom, edit skins with texture slider, ehsan majd, how to edit portrait in lightroom, how to edit skins in lightroom, how to smooth skin in lightroom cc 2019, lightroom texture slider, lightroom tutorial, lightroom tutorial portrait, lightroom tutorials for beginners, new texture slider, new texture slider in lightroom, Photo Editing, photo editing tutorial, skin retouching lightroom cc, skin softening lightroom, smooth skin in lightroom, texture slider


Recent Comments