HOW TO MAKE A WARP TEXT STYLE LOGO DESIGN IN ILLUSTRATOR – Illustrator Tutorial
bhadra 0 Comments Illustrator
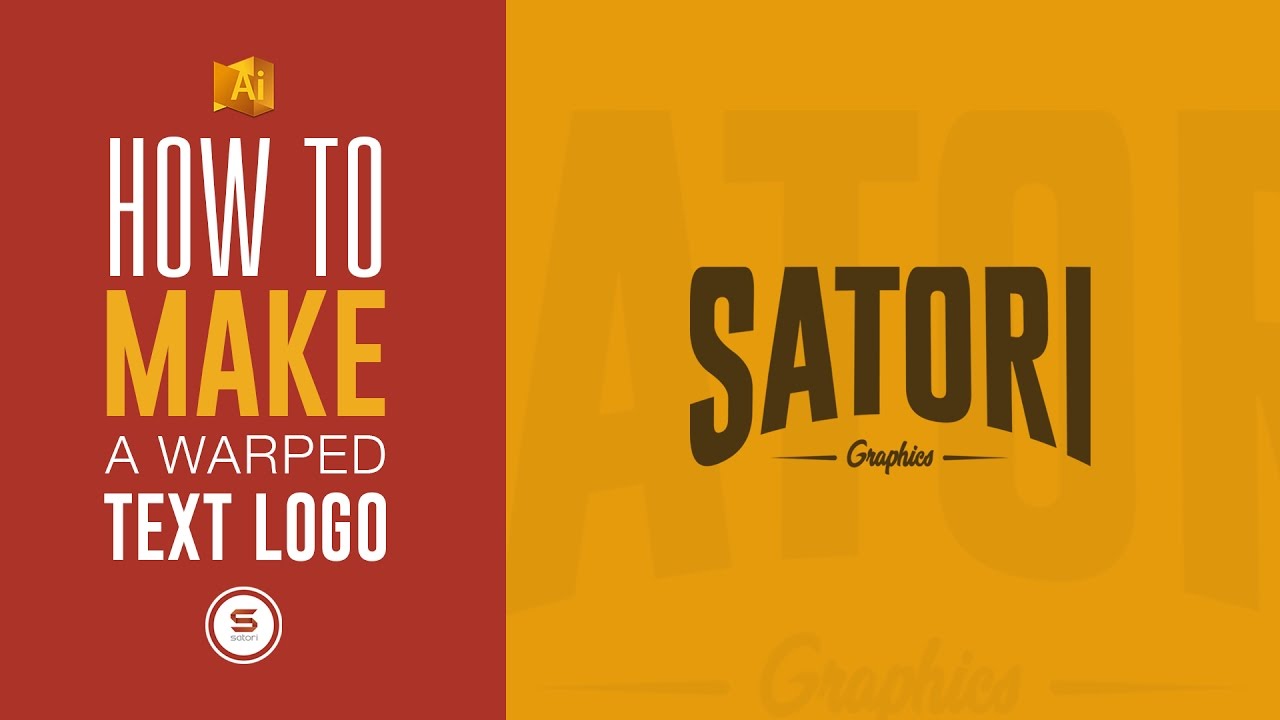
today I will show you how to make a warp text style logo design in Illustrator it’s very easy he had a cool looking style of logo design welcome back to tutorial graphics everyone I bet a great weekend remember if you find this tutorial helpful drop it like on the video and living in the comment section below and if you haven’t done already subscribe to stay updated to my five videos per week for your warp text style logo design you need quite a tall and thick typeface I prefer a sans-serif font and the actual font I’m using is called Gobold and I have a selected the bold setting so it’s Gobold bold once you have your text typed out go to text effect Warp and then lower arc obviously play around with the settings for your own design let’s suggest something similar to mine here then we will need to expand the appearance of our type like so and then ungroup the word so we can edit each individual letter if you didn’t have the rulers open hit command-i or a controller on a PC and bring down a guide from the top then these letters close together but so that the kerning still looked appealing then with the rain collection tool we can edit the letters so that the word is flat across the top it’s really cents off the warp text style for your logo also you can pad anchor points to your letter with a tool here allowing you to have more of a scope for adjusting the lettering you flatten the top the final part of our load the design is coming up next you can use a guide to make sure the bottom of your lettering of the lines you need a guide that goes down exact center of your final design for the second word of my Lodi I’m going to use a hand lettering typeface this part can be a tagline or your strap line for your work text Iola go they with this drink selected rather than a fill use the pencil to make a straight line like so put the weight up there and then use this stroke style here open up the stroke window and change the setting so that the end of the line is rounded hold down alt until you see this icon appear and then click and drag to duplicate it and then reflect that the original one has been mirrored select both lines and then align them along a horizontal plane and there you have it how to make a warp text style logo design in Illustrator I hope this was helpful and that you enjoy the tutorial subscribe for my 5 graphic design uploads from Monday to Friday and until next time design your future today peace you you


