Grouping | Compounding vectors & Using the shape builder tool Ep9/19 [Illustrator for Beginners]
bhadra 0 Comments Illustrator
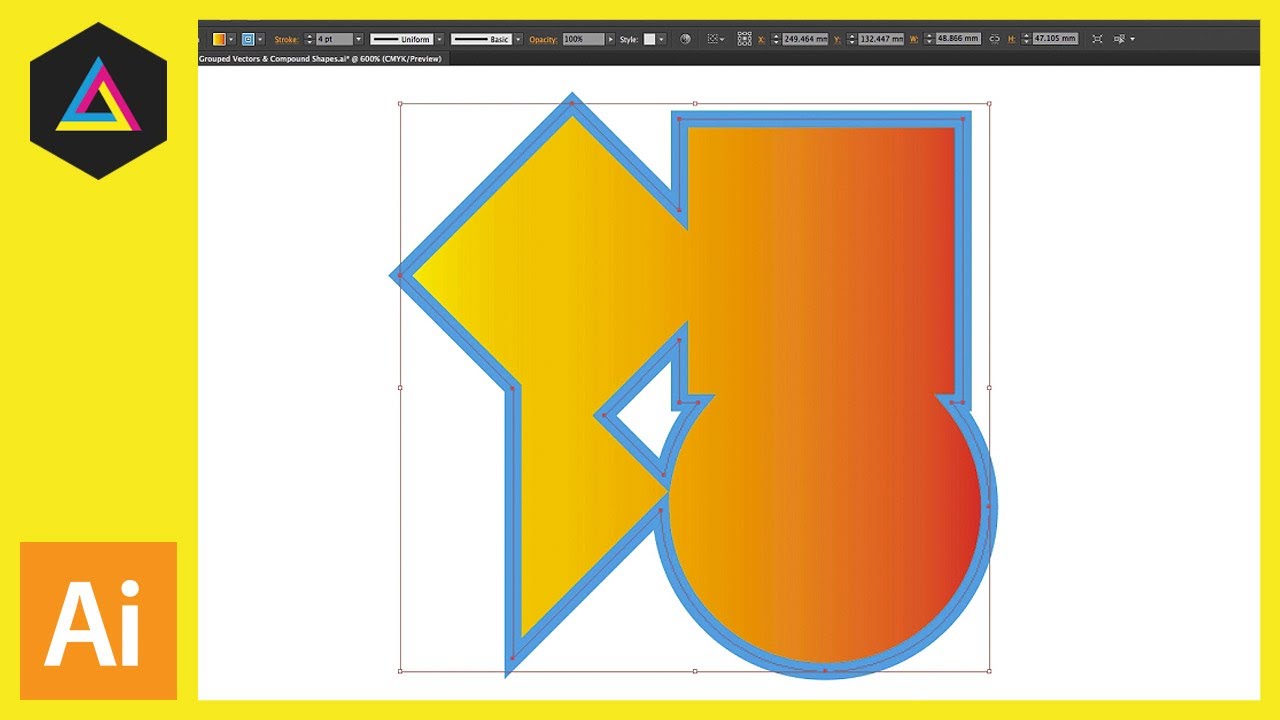
[ Music ] >> Hello, and welcome tothis video tutorial brought to you by TastyTuts.com. In the previous tutorial,we learned how to create individual vectorshapes using the shape tool. In this video, we are going tobe using some of those shapes and learn how to create groups and learn how we cantake those groups and compound multiplevectors into new, individual vector shapes. Now, the best way to learnis by watching and doing, so to help you, I havecreated this worksheet. To follow along with thistutorial you will need to open this document Ihave prepared especially for this tutorial.This can be found in theessential practice folder in the project folder. Now, you can download thisproject folder for free. The link is in the description. Along the way, I will bementioning some useful shortcut keys, which you canfind in the description and in the shortcut keypage in the project PDF, which you can alsodownload in the description. So, with the project folderopen, click “essential practice, grouped vectors, versions”,and select the version of Illustrator you’re using. In my case, it’s CC and openthe grouped vector file, and you should have somethingthat looks like this. Now, we are going to becovering a lot in this video and in quite some depth. If you wish to skip ahead atany point in the video or back, you can simply lookin the description and all the topics covered in this video are listedalong with their times.So, be sure to check that out. Okay. So, once you havethis document open, let’s get into it. So, here on the leftwe have our shapes from the previous tutorial and on the right wehave our worksheet, which we are going to work to. So, let’s zoom into the top ofthe second artboard to begin. First, we need to create alittle composition using some of the shapes fromthe first artboard. So, by pressing and holdingthe space bar, I can click and move over like so. First, I need the diamond shapedvector, so I’m going to press “V” to activate theselection tool, and then I’m going to select it. Then I’m going to press and hold”ALT” on the keyboard and click and drag it over,and this is going to quickly duplicate the shape.Next, I need thesquare, so I’m going to select the squarevector, press and hold “ALT” on the keyboard and dragit over onto my worksheet. Next, I need the triangle onthe side, so I’m going to select and duplicate thisvector as well. And finally, I need thecircle shape, so I will select and duplicate this and dragit over to my composition. So, let’s zoom intoour new composition and quickly movethem into position to reflect the worksheet. Now, as you can see, some of the vectors are sittingon top of each other. In Illustrator, like inPhotoshop, we can use layers, and if we come to the rightto see our work panels, and click on the layers panel, we can see we are currentlyworking on the work area layer. If you can’t see this panel, youcan come to Window, scroll down and click the layers panel here. Now, in Illustrator, wecan create multiple vectors on one layer, and it worksin a hierarchy structure.So, the first vector youcreate on the layer is simply at the bottom of the pile, thenthe next vector created will be on top of that, and the nextvector created will be on top of that, and so on and so on. Now, you can controlthis structure and a range of vectors. For example, let’s bring thebottom vector to the top. To do this, you can click thebottom vector, right click, and this will bringup a menu list. Then scroll down to arrangeand select “bring to front”, and now that vectoris on the top like so. Now, if we want to selectthe circle here and push it to the back, we can do thatby, again, right clicking, scrolling down to arrange,and clicking send to back. Easy. Now, as thistitle here suggests, these are ungrouped vectors. Now, what does this mean? Well, this means I can selecteach vector shape individually like so and there is nocurrent connection between them. However, if I click and dragusing the selection tool over all the shapeslike so and release, I will make the selection andnow they are all selected.Now, we can see a boundingbox around all of the shapes. With these individualvectors selected, we can actually make changesto them all in one go. For example, with them allselected, I can change the color of the fill by clickingon the fill in the menu, selecting a color,and also clicking on the stroke colorand changing that. I will just click offto deselect the shapes. So, clicking and draggingwith your selection tool over individual vectorshapes can allow you to change multiple vector colorsand effects in one instance.By holding “shift”on the keyboard, I can select oneshape, then another, and this will selectmultiple shapes individually. Where perhaps I canmake a change, I can make a changeto particular shapes. So, again, I’m going toclick off the deselect and this time click anddrag to select them all. This will allow us, withthe selection tool, to click and move the selection around. We can rotate and we can changethe size, but we don’t want to do that right now,so I will undo this. So, now I have all theindividual vectors selected. I’m going to press and hold”ALT” on the keyboard and click and drag over to the right, and I will quicklyduplicate the vectors like so. So, now we have twocompositions. So, with all of these vectorsselected, I’m going to come to the menu at the bottomand click the default fill in stroke button to reset thesecolors back to black and white.This time with the vectorselected, I’m going to come to “object” and select”group”, or I could press “Command G” on the keyboard. Now, once I have done this, I’m going to click offthe shapes to deselect. Now, if I move my mouse cursorover any of these shapes and click, we willselect all of them. That is because these vectorshapes are now grouped together, so all our vector shapes tothe left are individuals, and this composition tothe right is grouped.This helps if you’re creatinga complex piece of artwork and moving vectors around a lot. You can group all objectstogether in this way, such as text objects,vector shapes, and images. So, now these vectorsare grouped, all we have to dois select just once and we will select themall, and we can add effects, like a color fill and editthe stroke very easily. Now, it’s important to note that even though thesevectors are now grouped, we can still edit the vectorshapes as individuals.For example, if I click on thegroup, we will select the group, though if I double click onone of the shapes in the group, we will click into that groupand I can isolate that part and click and move thatpart of the group around, or even add new effects. Notice how all other objectson the canvas area turn opaque, and we have this greybar at the top showing us which level we areat within the group. Once I’m happy with mymodification, I’m simply going to double click intothe white canvas shape, and with the selection tool,if I select the vector, we can see it’s stillpart of the group. So, I’m going to double clickback onto the vector shape and put the shape backinto its previous position.Now, sometimes you may wishto ungroup a group of vectors. If you want to separate them,to do this is quite simple. With your group selected, come to “object” andselect “ungroup”. Upon click, you willbreak the group up and now they are treatedas individual elements. But I want to keep this group,so I’m going to select all of them and come back to”object” and click “group”. Excellent. Okay. So, that’s how to createand manage a vector group. Next, I’m going to clickon my vector group, press and hold “ALT” on thekeyboard, and drag the group to duplicate it down like so under the title”compound shape”. And just like earlier,I’m going to click on the default coloring stroketo reset the vector colors. So, as it currently stands, this group contains fourindividual vector shapes.Now, we are going tocompound these shapes together to create a single vector shape. To do this, we are goingto use the pathfinder tool. Now, I have mine tohand over to the right at the bottom of my screen. If you cannot see this panel,simply come up to Window, scroll down and selectpathfinder. If we look in thepathfinder panel, we can see various shapemodes and pathfinders. What we are about to dois merge the four vectors that created this groupinto a single shape. So, with the groupselected, I’m going to come over to the pathfinder tooland click the first icon to the left called “unite”,and upon click, you can now see that these shapeshave become one. If we look closely wecan see the anchor points and the vector outline thatnow makes up this new shape. So, now we have this new shape,we can alter the effects of this as one, such as thestroke, we can push this up, and turn the fillto transparent.It’s important to mention thatonce you compound the vectors like this, you can no longeraccess the previous shapes as individuals, so, be carefulwhile using this technique. So, I’m going to select theshape with my selection tool and press and hold “ALT” anddrag it over to the right to duplicate the shape like so. This time, I’m going tomake the stroke transparent, click on the fill color,come to the swatches panel, and select a gradient. So, sometimes you may need tocreate compound shapes in order to apply various effects.If I click on my top groupand apply the same gradient, we can see it’s not the same aswith the compound shape below. Here we get a nice gradientacross the entire shape. So, next we are going to lookat the shape builder tool. Now, the shape buildertool works similar to the pathfinder tool. With the shaper buildertool, you can merge, cut, and slice shapeswith more control to create more interestingoutcomes. So, first we aregoing to come up and select our ungroupedvectors.With the selection tool, I’mgoing to click and drag an area to select them all, click andhold “ALT” on the keyboard, and drag them down under myshape builder tool header. Next, I’m going tocome over to the menu and select the shapebuilder tool, which is just under the free transform tool. Now, with the shape builder toolactivated, I’m going to come over to the group vectors and move the mousecursor over the shapes. So, this selection of vectorscontains four individual vector shapes and they areoverlapping each other. As we move the mouse cursorover the selected vectors with the shape builder tool, Illustrator will highlightall the various shapes within the group. We can see the areasthat overlap and the areas that do not. So, let’s say we want tomerge just the diamond shape with the triangle below. With the shape buildertool, you can click and drag over the two shapes and you cansee they now become compounded. Let’s say we want tocut out the top part of the circle asthey overlap here.Well, with the shape buildertool, we can click on that area, and it will cut it away. With the selection tool,I can now click that shape and move it to the side. So, here, we have notonly cut that shape away, but created a newshape here, too. So, now I have a bunchof new vector shapes. I can move them around andspace them out like so, and change them individually. Pretty cool. So, next I’m going to select mycompound shape I created earlier and press and hold”ALT” to click and drag to duplicate it below, and click on the default colorfill button. This time we are going tocome to our first artboard and holding “shift”,select the circle, the star, and the polygon shape. I will press and hold”ALT” and drag them across to duplicate them,and with them all selected, I’m going to scale them downlike so holding “shift”, and change the colorfill to black. Then I’m going to selecteach shape and move them over to my vector shape like so, but notice how they arebehind the larger shape.So, now I’m going to click onthe big shape, right click, scroll down to arrange,and send to back, and now we can see ournew black shapes on top. I’m quickly going toscale up my star like so. So, now we have our vector with smaller overlappingshape vectors. Next, I’m going tomake a selection over this new compositionwith my selection tool. I’m going to clickand drag over them.Now, I could group these if Iwant to as demonstrated earlier, but I have a differentplan for this. With the vector selected, I’mgoing to press and hold “ALT” on the keyboard, and click anddrag across and down like so to make a quick duplication. Now, we are going to dosomething a little different. What we are going to do iscut the black vector shapes out of the larger vectorbelow to make a new shape. So, with them all selected,we are going to come again to the pathfinder panel, andthis time we are going to come to the fourth icon across andclick on the “exclude” button. Upon click, you will now see that the individualvectors become compounded into one vector.If I remove the stroke,and apply the same gradient as before, we can see wehave the transparent shapes in our vector. Now, if we want to modify theseholes in our shape, we will need to use the directselection tool. For example, let’s zoomright into this shape, I will press “A” on the keyboard to activate the directselection tool, and then click on the shape. Now, we can see the red anchorpoints that make up the shape. Now, it’s a case ofsimply selecting one of the anchor points and movingit around, though if I want to move the entire holearound, I will first need to select the anchor point, thenhold “shift” and select the rest of the anchor pointsto move them around using the arrow keys. Simple. So, zooming outwith the selection tool, I’m going to click and duplicatethe shape across pressing “ALT” as I drag, and simply swapthe fill and stroke color, and push up the stroke.And we can see how the gradientalso applies to our stroke on the new compound shape. So, that is how we can arrangeour vectors, group our vectors, compound individualvectors into single vectors, and cut shapes out of vectors. It all comes down to whatartistic effect you are trying to achieve in your artwork,and to what extent you wish to organize your vectors. Grouping vectors can simplyhelp with your workflow, though compounding vectorscan help achieve a particular esthetic for your artwork. In the next video, we aregoing to learn how to draw in Illustrator and learn how toeffectively use the pen tool, the brush tool, andthe pencil tool.See you in the next video..


