Adobe Illustrator Draw: Flat Illustration Tutorial
bhadra 0 Comments Illustrator
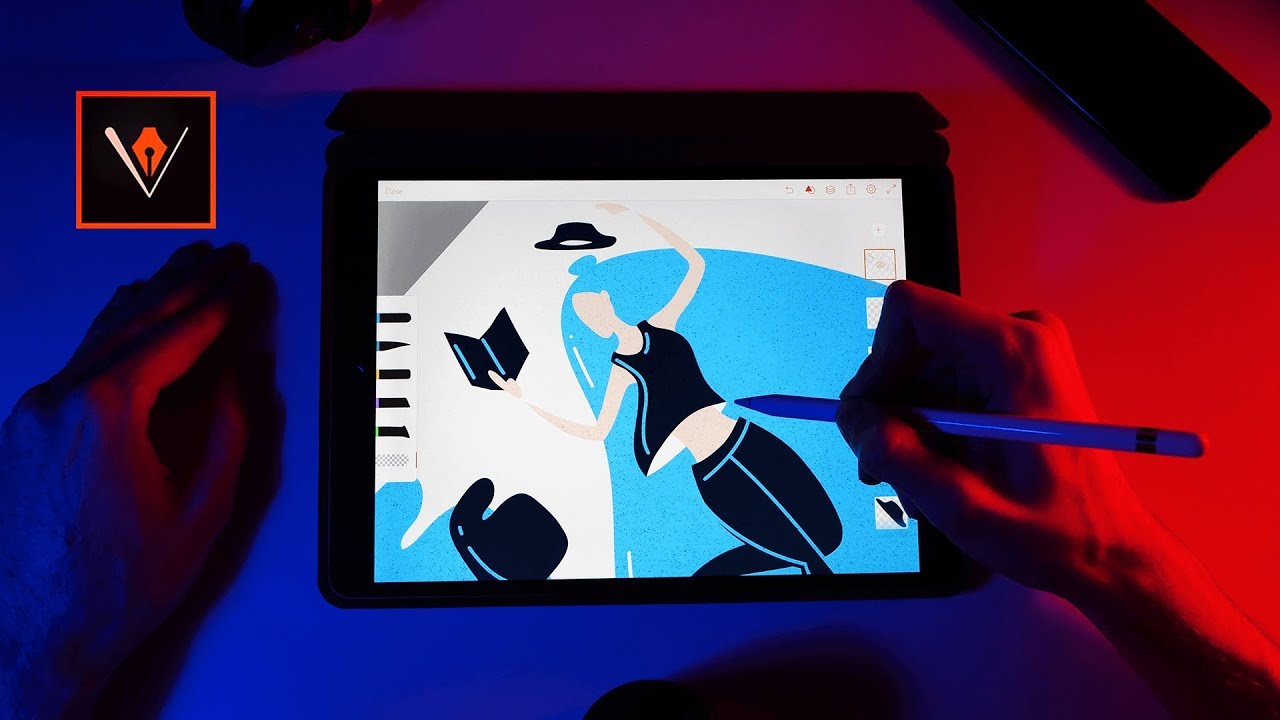
Hello designers, let’s draw an illustration using an iPad Pro and Adobe Draw, you can start with a simple rounded brush, you can probably use the default settings for this part since you don’t need anything too fancy for the sketch, let’s test it out to see how the line looks. To undo you just need to tap with two fingers and slide to left, to lower the opacity of the brush you need to tap the opacity setting and slide it up or down, pinch-to-zoom works as you’d expect, it’s time to lay the foundation by doing your pose using stick figures. That’s right, I usually draw some rectangles for the head, ribs and pelvis and connect them using simple lines, if you want to follow along or download the vector illustration for free the link is in the description. I’m doing a series of illustration with places we get inspiration from and this first one is about reading, one of my resolutions for this year, started reading on the iPad but I know a lot of people hate that, what about you? Do you like reading from a digital device or a book.
To adjust the size of a layer tap on it and select the Transform tool, once you’re happy tap outside. You can do the arms the same way as the legs I’ll try to give them a dynamic position since one of the hands will actually hold the book, add circles where the joints are and get ready to add some elements on top of everything. Tou can decide where each foot goes and at what angle and start adding basic pieces of clothing on top of the stick figures. As I previously mentioned I’ll have the character hold the book in one of her hands, lower the opacity of the sketch and I’ll do a second pass over it using the same brush, this usually helps refine the sketch if you’ll do this multiple times you’re bound to get something better than your initial drawing. Let’s start with the head, again I’m not trying to get the lines perfect that’s why I define the shape to multiple small strokes, think about form and how you like for the illustration to look since all of the shapes will be actually filled with color.
If you’re not happy with something select the Eraser brush and remove it, if you went over the lines that’s not an issue, just take the brush and repair it. Now I don’t have a particular order I do this part of the process just jump from partial part with no real focus. I know that’s not actionable advice but just try it out. It’s awesome to have the ability to undo when you’re not happy with something, that’s why I enjoy drawing digitally, I found I’m struggling a lot more whenever I need to put my idea on a piece of paper.
Let’s get on with the hair, start from the top and move down through curved lines, I want to give the impression of movement and not make it perfectly balanced, go up and connect the shape. To make the theme of the illustration clearer you can also add supporting elements in this case some quotation marks. I’ve sketched the first one then duplicate it, I’ve then duplicated both of them afterwards and move them on the other side. Now it’s time to add some color to the illustration so just as before lower the opacity of the current sketch; on a separate layer I’ll define each element, start with the face and once the shape is closed you can actually tap and hold inside it to get it filled with color.
Zoom out and move to the next part. I prefer to keep similar elements in the same layer for example all of the skin shapes are in the same place, that should help you navigate easier when you’re doing adjustments. For some of the elements, you can actually see some lines sticking out, I’ll remove them afterwards. Don’t really like the placement of the hair, so tap once on the layer select the Transform option and move it around till you’re happy. As I said for some elements I don’t like the way their edges look like so I’ll take the eraser tool and go over each part and try to refine it, make sure the size of the brush is small, I’m using 6.5 even though I have no idea what measuring unit that is, just a couple of strokes on top of it.
If you ever need to sample a color hold down while you’re on the color swatch and you’ll get the eyedropper tool. For no reason at all I’ll add some details, through some lines on the hair and on the body. Even though it’s a flat illustration I want to add some texture as well so create a new layer and place it as a photo, select the overlay blending mode and this should be it.
Posted in Illustrator


