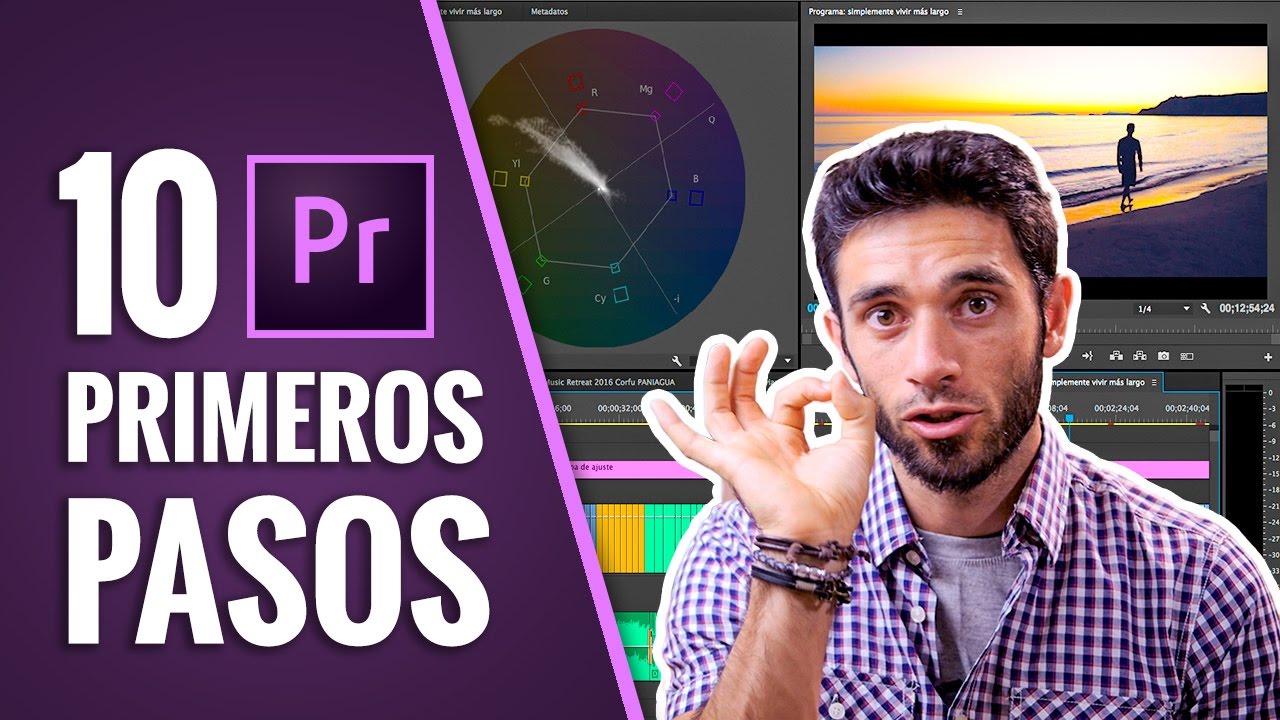
10 PRIMEROS PASOS para EDITAR con ADOBE PREMIERE CC
bhadra 0 Comments Premier
Hello everyone and welcome Hello everyone, and welcome to a new video from Runbenguo’s video today I think it’s interesting i think it’s very interesting is about editing ten things basic things to know about adobe premiere to start editing with the that is 10 basic tips for people I have absolutely no idea then it can be very useful if never you have been with premiere but you want start editing because i always I say to start learning to edit I recommend starting with the tool with which we will end up editing it’s always say a lot of people say but it’s what is payment no I can’t use it, I understand it I understand that at the beginning then may be more comfortable to start with I movie that is free with mac or with movie maker that is free that come with windows but learn how to use these tools although it’s easy to carry a time and then they are very limited so in the end you have to finish learning to edit with premiere so there are two different learnings and in the end it takes time and if we we want to take a little seriously then we will end up with premiere because it’s like the main tool to edit video right now there are others but Premiere is that it’s like the main because it’s super complete it’s very very complete and also to combine it with adobe’s other applications with photoshop with after effects with audition we have the most tools powerful we can imagine now to make any video creation or similar in fact for that reason I created a complete course very complete for learn to edit with premiere podeis see the ad here at a very reasonable price affordable because I wanted all the world could have access to this knowledge of this learning and if don’t itenes premiere or adobe package you can click on the card you just exit or enter my web section materials, edition and there you have the links to see Adobe Creative Cloud plans you can find only one photo plans app as premiere or full pack with all adobe applications and also you have a one month trial period for try everything so and if you are a student teacher or company as there are discounts also so nothing more directly let’s move on to these ten tips basics to start editing with adobe premiere premiere so come on let’s it.
Yes let’s start with the little things then the first of all is that it is super important that everything we will use in the video all the materials we put them in a folder then I in the course of editing by example course of how to edit with premiere I put everything in a folder in the desk that is to say everything that I was going to use in that video project I was here then both the videos and the music as material photographs videos other things everything in had a folder and then the project too this is very important because yes we started editing by putting the videos from the memory card of the camera that is plugged into the computer and then we took out the card then premiere will say hey where are the videos you said they were on the card and now are or for example if we start to take materials from different folders of the computer from a bunch of folders and then we delete those folders and time later we want to go back on that project when you open it premier will you tell us hey where are those folders where are they those files that we use in this video I don’t find them very important then put everything in a folder so then we can save that folder where we want and that we can open the project and we have it inside what we have a very important whole then to create the project then very easy let’s premiere we do click on premier and if it’s the first time Abris premier then you will not have these options here files recent but it will simply put you there will be project or new project then new project that simple is to create a project and here this seems to be very complex but not worry, it’s very simple just we have to put here the name name we put tutorial edition 10 things to start editing with premiere and then directly the location where we want or save it then I don’t I always recommend keeping it in it folder where you have all the project materials the folder you created where you put videos and all that and then well you are things don’t really need to touch if you don’t know much about me in the course so when a little bit but of moment with this we create the project accept and we get this screen that is premiere everything clean with nothing without no thing at the moment we have seen the first thing that is to tone in a binder the second thing like creating a project super simple then now like matter for example if we were in the folder where we have put all the videos directly we can go to the folder here I have for example tutorial 51 of the A7r here I have everything in and the file main i just select it clicked and drag it here and notice how simple there we have it and it appears directly here on the project monitor which is where there are that drag things if you look at principle when nothing is important means to start gives you here a clue so you know that here you have to import them then directly the We drag here and here we are putting everything very simple very simple another way it is also command i command i the import window opens then directly we go to the folder where let’s have everything and import everything very simple so it was imported very simple then little by little bit by bit now we have to create a sequence a video sequence is where we are going to go handling all the original material that is, it is like the artisan’s table where are we going to put original material gross and we will be cutting we will go by clicking we will be adding so that’s the sequence the most simple to do so I will explain the simpler things is by clicking on the video that we have imported and what we drag here to the right where put timeline and notice is created a sequence the sequence has been created with the name of the video file that we have imported then notice that here a new file has been added that You no longer have this icon as a movie like video but it’s sequence that are these horizontal bars then we have a file that is the video and another one that is the sequence then for example if the sequence we want to call you from another way tutorial we just click two clicks then they click open and let us change it and it’s very simple ok then here we have as the raw material is like the loaf of bread without touch the piece of clay without touching as is the entire video so now the first thing we usually need to do is create a title then before the video we put a title I will teach you the simplest way very simple everything so you can do things already after watching this video already you can do things then directly we go here they arrive title title new title image still or frigid image default we click on name we want Well, totilo accept and the create titles window then this it’s going to be very simple very simple no I will go everywhere on how to create a title and so on but simply a simple title so we do click with the text tool that the text tool is this one that puts text I’ve simply clicked on the screen then now I put Runbenguo Films Presents then I select everything I drag and select everything click here above where it puts center more to center the text and that’s it Now I can resize a little Well, these things will have to be seen little by little but more or less but basically to move it I press command and drag and put it where want there either command or control in windows and that’s it when I have the text as I want it with the source with the color all those things you have here properties of title you can change the font color the shadow a lot of things when I already I have just close and notice that here which in project monitor is like the box where we are throwing all the materials where we have all the video materials a new one has been created title file called totilo as I called him then to put it in the sequence to put it on the table of artisan directly skewer and drag skewer drag I can put here at the beginning of the whole we are going to give a little bit to zoom this as you zoom in here we have to press alt and we give the mouse wheel up or back if we want to give less attention to the zoom like here the course wherever you want press alt and give the wheel towards forward and back then it is done bigger smaller this in the course explained it with more calm but good for you to have a then I put the cursor where is the title here at the beginning of the whole and I’m going to give it, I can also give it to the most more more more more more more and I give zoom then here we have it here what we have Runbenguo films presents very simple now this space that I have here between the title and the video as I cut it straight with this tool that appears quique which is the v uve very simple i can click the video I drag and carry it here very simple sencillito is not worth it so now we give a little to zoom as alt told you and the wheel of mouse then now let’s cut the parts that are not worth us that is there is a lots of parts of the video that we don’t they are worth a lot of people I was wondering hey do you do this from the cuts cuts so fast others well it’s very simple is as if this were a bar of bread and directly with a blade we are cutting the parts that we don’t the parts of silences and others are worth then this tool is this from here notice all this is like the table of the tools is here is called blade that has the shortcut c is say we don’t need to go here we can always give these tools to the letters that are the shortcuts and we the tools appear then the selection tools to move for take select is the uve that is vector vector and the one to cut is the c, v, c, v, c so now very simple for example I say that all this part all this is not worth me because I am getting too dumb then from the left of beginning of this video all this all this part is not worth it then directly short it’s that simple, it’s that short planck so now I have two the piece on the left and the piece on the right and like the piece on the left I don’t ok I can directly hit the button delete from keyboard delete button or right button remove curl and it will remove curl what It means that it eliminates clip and also remove the blank that is be fixed delete clip and the blank space so now i have here directly the title and then already the video So it’s that simple to cut the parts that are worth us and those that are not I’m not going to do all this video for not make it endless an important thing here on the audio track is very useful see it big to know when we stop and with we start talking and cut the silences for example then to make the tracks big we just have to go here on behalf of the hint and we hit the mouse wheel there then we get the audio wave and we know a lot more easily where to cut and where no I don’t want this part short then this up here cut for example imagine that part is not worth it then right button remove curl and maybe this part is worth it but from here not here then another way to cut very simple with tool b lie b is this one here that puts edit curl b that what we have to do is click and drag here and remove that piece then very simple we cut we eliminate so far not everything whatever not we only leave the pieces that are worth us there are more ways there are more shortcuts more trimming techniques but not here we see them because otherwise it would be endless video and this is from introduction then with this way you could go trimming the whole video because everything what you need is what you don’t need this piece is removed from here for example this is removed i move it over here from the manaera that you want to be more comfortable then we imagine that all that no longer ok then I already have my video what is this from here then now i can create another title for the end that we can do as I told you to go to title new title still image default etcetera or we can catch this one that has been created here this title that was created here make command control c which is copy control command v which is paste then it is believed that another title that we can call credits that is the end credits directly we can drag it here as I said we put it here at the end now it is still going to see the same as at the beginning because it is the same title we have simply copied but we double click we can edit it change and we put many thanks or whatever not? very easy we close and then now the title final is thank you very much then we have a title we have the video with the parts that we want only and then the title final in all let’s go to next point Now that is like using photographs how to use photographs that this is very simple Look, I’m going to make a little huaco here I will select these two clips as I have done as I have done this very simple with the tool v out of the clips skewer drag and a frame is created then I select everything that this within that frame I move it over there and I leave here a hole for a photo that I’m going to put in then I go to the folder where I have all the materials and I will import a photo here in materials I have photos I have for example all this photo to photo then I skewer and I drag it here as it is that’s what i put here and then what it happens that it is not big enough I’m missing a hole here So how do I do it, nothing happens how is a photograph with the tool v which is the selection the one we had selected on the edge notice that if I put it on the edge instead of being a little arrow is this red thing that is like you are on edge you are on an edge that do you want to do what do you want to do Well, I want to click and drag then the duration is praised then notice that simple when it’s a photo can we do that if it’s a video we can also make it look i’m going to welcome this little piece of here I’m going to say copy c command and I put the cursor here timeline and say command v paste then if I host the tool v in reality even if I cut that little piece of the loaf of bread I haven’t lost everything that was to the left of the right but still saved I can take the tool v I go to the skewer edge and drag and notice that I still have the video here so it’s a very comfortable way of edit this loaf of bread on the table of craftsman are very comfortable tools because they are not destructive in any moment we can recover part of the video or remove more or whatever we want ok then look I already have this picture here as you said now what happens is that this photography is very big because it is more larger than the resolution of the sequence and resolution of the sequence that is if it is hd full hd it has automatically created when I have dragged the original video and I’ve gotten here is say I didn’t have to tell him or so I want you to believe me one full hd sequence with so many no frames that is no longer necessary with premiere when we we import a premiere video it is fixed that what characteristics does that life have then when we drag creates the sequence with them features of that video then normally we have recorded all the video with the same camera all videos are going to have the same features then it doesn’t have sense that we have to do it manually it’s going to be all the same so the sequence is created with the same video features that we import now let’s go here look here in the tremble project panel let’s go here you can watch video training here it tells us all the characteristic things of the materials the title the videos photos then this photograph is not from 1920 x 1080 which is full hd but it is bigger because it is with a camera of photos that have more solution than full hd then the picture is not seen whole and what happens we have to do here to fix this very simple very simple there are several ways but the simplest is that we give right click on the photo we tell you here adjust to size frame not scale why we scale so it’s like we’re taking the picture smaller and we lose resolution we want it to adjust so that later we want to digitally zoom we can and do not lose quality then adjust now what’s up I have some rivets blacks because photography doesn’t have the same proportion as the video so It’s okay, let’s go here, look here up where one controls effects and in movement we can change the scale the rotation position many things then the scale that is the size instead of 75.5 we are going to tell her to do it in 77 so now look no more black bars remain on the sides very simple and if we even want to do as an animation that is approaching the photography is giving the zoom very simple let’s start this photograph in the timeline is to say just at principle that how is this done because I don’t get fair Iraqi principle that I don’t get it, very simple press shift then when let’s move the near timeline of a cut ago clack clack clack there so now we are going to controls defects and on a scale a like a clock a stopwatch at scale side it’s called switching animation that it’s just that we activate animation so very simple we click and set that has been created here a little square doesn’t look whole but it’s like a square a rhombus that simply saves the information in that photograph as for the scala at that time of time at that moment of the sequence then at that time the sequence scale is 77 just that that’s a frame and we want to end of this photography clip let’s go here at the end click we want the scale no longer at 77 but rather 82 then another rhombus is created to tell to premiere that at that time the scale of this photograph we want to be 82 and then between one and the other frame an animation is created as if it was a zoom there we have to give it to play How to play to see the result final space space or play here you have play commute there what you have ok and now how music is played well simple very simple let’s go to the folder where we have the materials simply we are looking for a music song this same broke for free broke for free click and we drag the same and now now what we put down here on the bass track which is where the music is set this does not I said but where it says v1 is the video track as if you were the tracks video and below where it puts a1 to 2a a3 is the audio to audio and video v so we can’t put the music on up here where are the clues of video but under where are the to the audio a’s and not to put it on top of the voice then put on a low track and there we have then look very basic this very basic this is very basic if you are very loud the volume nothing happens there are many ways to fix it but the simplest is that having the selected audio the selected song we give the g then audio gain opens and here we put define audio gain because We go down to 11 or whatever is very simple very simple then to cut the audio the same we go where we cut it take c knife tool we say here click I want you to cut it then to the select tool v select we click on the part that is not worth us and delete there is there is ok we already have the music the music and now we only need transitions and export that’s just not missing, so transitions is very simple to put transitions because here for example to what we don’t want the video to end with a sharp cut so we don’t like it to end with that abrupt cut so then very simple let’s go here to monitor project and now we go to the right where it says effects this tab that puts effects and we see that there are a lot of things there but we just need to go to transitions of the video below video traditions there are lots but the most commonly used are here inside the folder dissolve and we can put for example cross dissolution cross dissolution is like that merge in the previous plane with the plane following is saying i’m going to put it so that you see it skewer dragged and notice that simple as is pricked dragged and it gets here what I’ll do it again, I dragged and the I put then as in a cut to serve as transition between the cut i’m going to give a a little to zoom and notice that is the cross dissolution is very common is of the more common with the move to black what happens to black is like a black fade I’m going to put skewer drag I will put here at the end there you have it and if I want them to be a little longer nothing happens with the tool v selected I click the transition and I do it a little bigger like that It’s that simple, it’s already fixed simple then this is the most basic I have gone very fast and said only the more basic things although there are many more ways to do this more efficient more productive but that there is no time here so this is the most basic is only left export then to export is not the same as save if I now give command or control s I save but I save the project I keep all these changes I’ve made here and I want to have a file already Of video I have to export then to export All I have to do is tell premiere which is the part of video that I want to export that this is very simple directly we go to the final end of everything where we want it to be over you agree to make it like a clack and it put just at the end just in the cut end I press shift and then they make a clack clack this one I want it to be the end here I want the video to end so I put a exit point exit point which is just give it to the o then it’s like creating a bracket a parenthesis then it says here closes the parenthesis here that the video was made and from I don’t want anything here and I don’t really nothing more is needed but we can put an entry point that is like a point beginning of the parentheses that by example maybe if I just want start the video here well look I do shift and move the cursor and click here in this cut and I give the i that is the entry point then it’s like that put the other side of the bracket and I when I go to save the video I tell him that note entry and exit points and this just awaits me but I do want the the whole video well then just I skewer and drag and move the point of entrance to the left at all then the input the video is at the beginning of the whole and the video output is just when finish the last credit title and that’s it is very simple then now to export we can go here export media file and if not the most fast and the easiest is command or control s here it is then the settings of export settings window export here there is also a lots of things to see but we don’t give time in this video so the simplest is the most common format is h 264 is the most common codec settings default here if you want export it for an android phone no I know I don’t know how many the most common youtube down here completely youtube hd 1080p most common here the name well do you put the name you want it keep in the folder you want etcetera very simple and here we have the video and audio settings but you are going to export for youtube Well, for example, what I usually do is sport to talcual 1080p 1920 x 1080 frame I usually put 30 then skewer here and I tell you 29.97 frames and the rest left the same and quality the I leave it to the fullest because I want don’t lose audio quality here Well, it is not necessary to touch anything quality 48 thousand hertz et cetera et cetera and notice that here interval of origin here down puts input / output sequence is the entry point the exit point that we have chosen then it will only export that part of video and already just we would have to give it to export and already start processing and notice It starts processing and the video is saved so here it is here what you have those are the ten tips basics that I give to start editing with premiere I hope you have been served liked and that you have learned and that to from now on you can at least start editing premiere that you know the basics then you can see if you like it if it serves you if you want to continue learning etc.
etc. so nothing more thank you very much for watching the video thank you very much to those who subscribe it is true if you don’t want to miss the videos that I upload every week and you are not subscribed and if you have already subscribed and do you want to take a look at the networks social that I go up because my little jobs a thousand photos and so on there you have below the links to the description nothing more thank you very much see you at the next video bye! Where is the t-shirt .
Read More: Everything Else in 3.0 (Adobe Character Animator Tutorial)
Posted in Premier


