Adobe InDesign Tutorial – Booklet Layout For Print InDesign Tutorial
bhadra 0 Comments Indesign
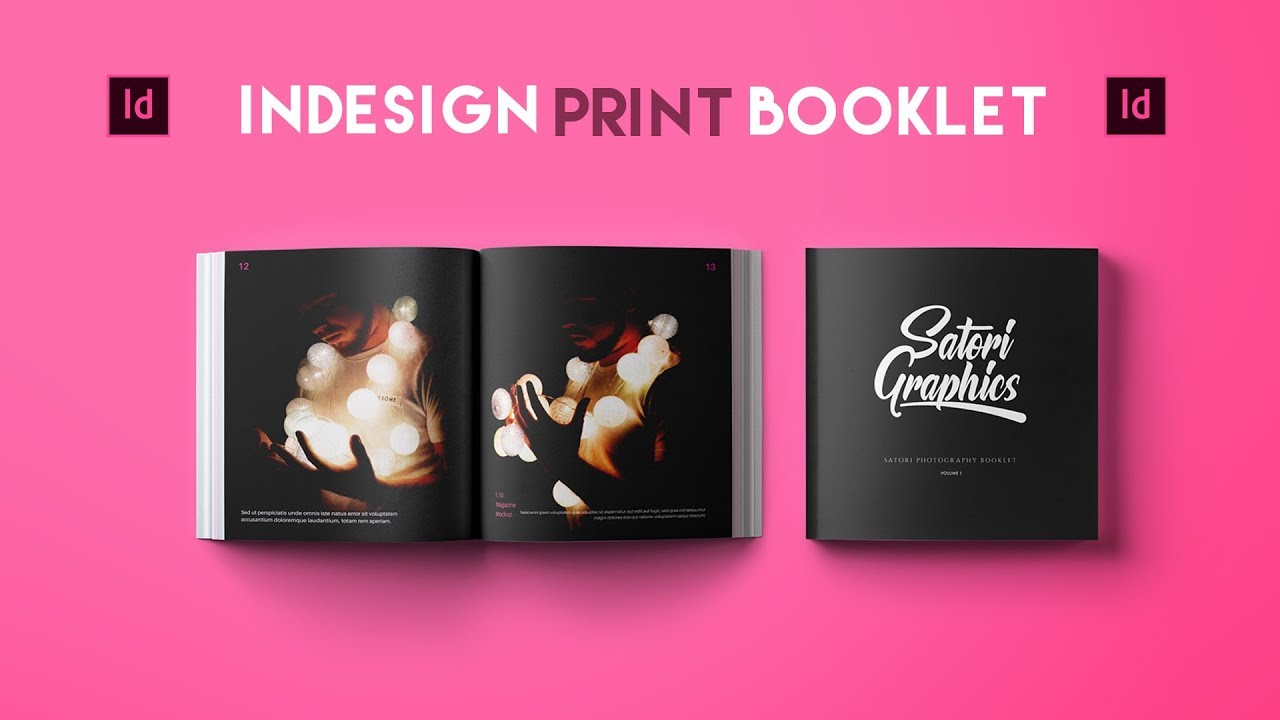
today I’ve got some awesome tips for you guys when working Adobe InDesign and designing a photography booklet perfect for print what is that people welcome back to Satori graphics the home of graphic design content right here on YouTube so today an InDesign tutorial because I know a lot of you guys wanted to see this on my channel again if you have suggestions for videos in the future they’d be shy to pop a comment in a comment section below so today is a tutorial on InDesign tips when designing photography booklet for print on Thursday have some more nifty tips in Adobe Illustrator that you probably don’t know about and also I’ve got content on Friday lined up as well but anyway let’s get into these tips when working with Debian design for our photography booklet layout on InDesign we need to make the correct document first and foremost so choose print and then for my photography document I’m going to use a square layout I’m gonna make my document around 260 millimeters by 216 millimeters the amount of pages that you’re going to add isn’t too important right now because I’m going to show you how to delete and add pages later the default margins are fine and we want to add a three millimeter bleed to our document we can press the link icon to add the bleed around the entire book a document so here is our document for today’s InDesign tutorial I’m going to show you some neat tips on how to add page numbers across the entire document as well as some other tips later in today’s tutorial we’re going to add alt text and logo content in InDesign by seeing as it’s the photography booklet we need to set up the imagery professionally in Photoshop so in Photoshop make a document that is a square and the same size or larger than your InDesign document so I’m going to use 216 by 216 millimeters you’re going to want to make sure your imagery is 300 PPI and CMYK now this is essential and it’s important you get it right we’re going to need to import the photography into InDesign after saving a in Photoshop so simply apply your image onto the square canvas and then save the image as a JPEG you want to use the highest quality possible– and then go ahead and save into photography booklet folder a quick tip about working in design sometimes by default a new document is going to have a display quality on the screen set to standard when in fact you’ve actually want to be using high quality as the setting used if you cannot see your tools open you can bring them out into the screen here take the rectangle frame tool and create a box across your entire document like so including the bleeds I will leave the first page blank now because that’s going to be the cover so check and make sure the box is perfectly up into the edges of the page and then this is going to be the right page of the first double page spread on my photography booklet then take the white arrow tool and click the box and then go up to file one place locate the image and click OK you can then arrange the image to fit the box perfectly I’m not gonna spend heaps of time making my booklet look good today I just want to show you guys the techniques and tips for making your very own box you can change the screen mode here to see how the booklet will look after is printed and the bleeds are actually cut away and you can also use the bleed mode here to see the bleeds off your document to remember that the thin slice around the document that is actually the bleed is going to be cut away after printing so do not put any crucial content in this more area if you want to add or remove pages you have various different options under the Layout tab you can manually add multiple pages as well as remove multiple pages or you can add a single page automatically now I’m going to show you how to save time and add a specific part of your design across the entire booklet and for this you want to have the pages window open which you can click on there right here or you can go up to window in them pages at the top you’re going to see the master pages and if you double click the master pages we’d then be taken to a double page spread basically whatever you design and place on these two pages here is going to appear across the entire document so for example you can add page numbers to do this we take the type tool and we click and drag to make a type box then go up to type insert special character markers and then page numbers you actually in fact have an A up here if you press command or control T you can bring open the typography window and then you can set the size and the style of the a this a is automatically going to turn into every single page number on your document by InDesign which you will see now so go back to the pages window and then select your document with a double click and you’re never gonna notice that the page numbers are now on your document however we only added one side as you can see so go back to the master pages and then you start option key to duplicate da over to the other side make sure that is aligned and mirrored perfectly with the first one now head back to your document and you’ll notice that you have page numbers across all pages the one problem that you now have is that as a page number on the front cover and it is not really one and you’ll find that you can actually move and edit this number so hover the cursor over it and then press command shift and click on a Mac or ctrl shift and click on a PC and you’re now going to be able to edit move and delete this page number I’m going to quickly lay out a cover page with a simple techniques in InDesign you can choose the foreground color here and then take the rectangle tool you want to be able to see the bleeds so you can bring the background up to the bleed edge select Adobe Illustrator you can double click the color palette and edit the color of the shape I will show you one way to import a high-quality back to logo we take the rectangle frame tool and draw in a square you can move it around into its centered then go up to file on place as we did before with the photography locate your logo and then click OK you can then resize and send to your logo on a document so that it looks ideal you can also lower the opacity of the logo as we can in illustrator also it might help if you lock the background layer in place so it doesn’t move around take the type tool and then create a text box I feel that InDesign has the most scope of editing typography of any Adobe software out there and at the very top you’ll notice very different ways that you can edit your typography again I’m just showing you guys how to design a photography book little layout and InDesign I’m not gonna spend hours doing this myself but when you do finally get to the point where it’s finished you’re going to need to explore your document for prints so go to file and export and then to Tadoba PDF or print I choose a two-up cover page layout which I feel is best for this kind of design the compression should be fine by default and in the marks and bleed section I tend to use most options but you must use a document bleed settings most often the rest of these settings are fine by default and any warnings are going to be posted in the summary section once you actually export it you can then review your design in Acrobat so there was today’s video designing a photography booklet in Adobe InDesign I offered you guys some tips for your workflow in this program so let me know what you thought of the video in the comment section below and of course if you did enjoy the content give it a thumbs up and maybe even share on social media I’m super happy about the growth of my channel right now and getting all these views likes and subscribers is telling me that you guys are taking my content and you’re actually finding my videos useful in your graphic design workflow but I’m always looking to improve so don’t be shy to let me know what you guys want to see on this channel here at cetera graphics but anyway until next time design your future today peace
Read More: Everything Else in 3.0 (Adobe Character Animator Tutorial)
Posted in Indesign


