How to Compare Files in Adobe Acrobat DC
bhadra 0 Comments Acrobat Uncategorized
Hi guys, in this tip I will explain to you
how to compare files in Adobe Acrobat Pro DC 2017 with a continuous subscription. Using new Compare Files tool you can quickly
and easily detect differences between two PDF files. Beside detailed report, you will get two documents
displayed in a parallel view with changes highlighted and connected. So let's get started. The very first thing to do is to run Acrobat
Pro DC and to switch to Tools panel. Scroll down to see Compare Files shortcut. Click on Compare Files icon and Acrobat will
open Select Files to Compare page. There are two sections with thumbnail previews:
Old File and New File. Your task is to click on Select File below
thumbnail previews and to navigate to files which you want to compare. Double click on file and Acrobat will load
thumbnail preview. After choosing old file repeat operation for
a newer version of the same file in New File section. Remember to select a different file or newer
version. You can also swap the position of the old
and new file by clicking on Swap arrows.
To change files which are selected for comparison
click on Change File buttons. If you want to instruct Acrobat to ignore
differences between the graphic elements click on Compare Text Only to appear checkmark. To modify settings click on Settings with
the gear icon on the left side. In Settings dialog box you can choose to compare
entire documents or to limit comparison by typing page range numbers in Old File and
New File text fields. In Document Description section you can manually
select the type of the documents that you are comparing or simply let Acrobat to decide
by checking Autodetect option.
In Show in Report section you can select the
elements of the documents for which you want to see the differences in the report. When you are done modifying settings click
on OK button. Lastly, click Compare button and wait a couple
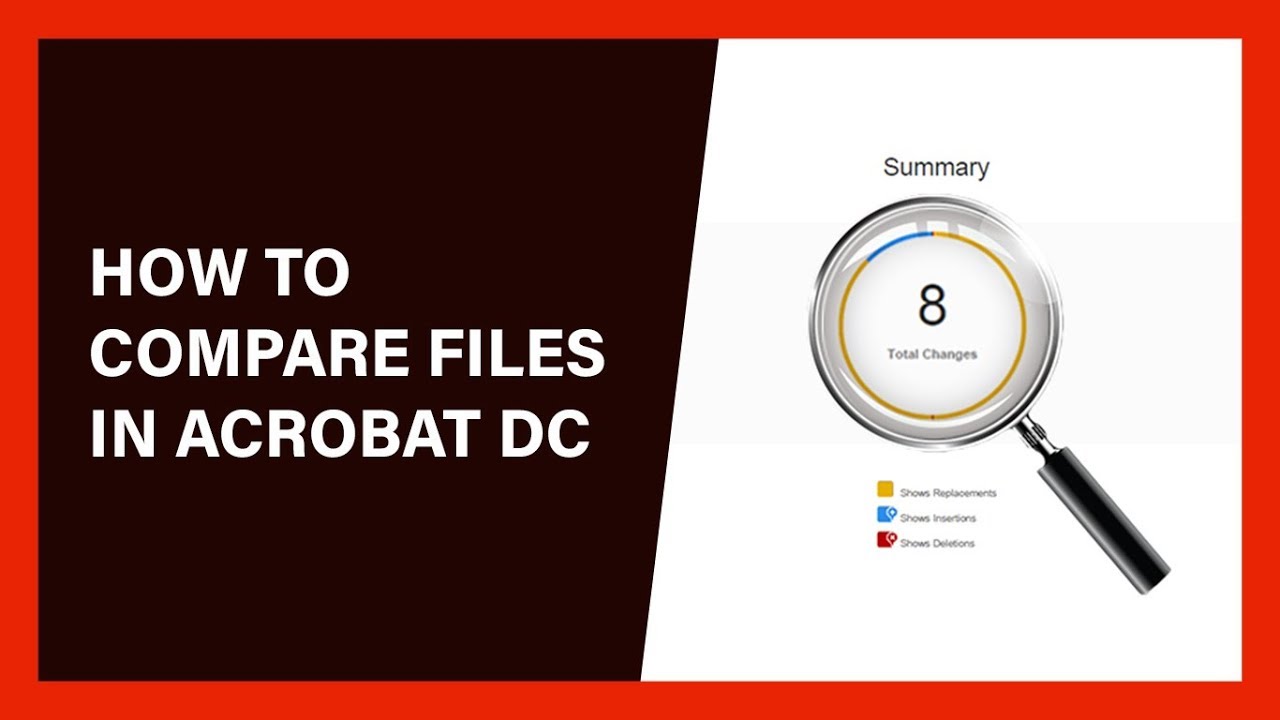
of seconds for Acrobat to analyze and compare documents. Acrobat will display the report in a new document. Compare Results page will provide you a summary
of all differences between old and new file. To jump to first change click the Next Change
button. You can also choose how to review the differences. There are three available options to choose:
Side-by-side view allows you to see differences between Old File and New File in parallel
view where old file is displayed on the left side and the new file is displayed on the
right side.

All changes are highlighted and connected
across the files. You can click on highlighted content to see
a pop-up where you can use Reply option to add a comment, to jump to the next or previous
change or to right click and set the status of that particular change. Other view options are: Old File and New File
which will display old or new files with all changes highlighted. Filter drop-down can be useful to limit or
expand comparison results. For example, you can exclude Images/Graphics
from the report by unchecking them. On the other hand, you can include Annotations,
Formatting, and Backgrounds which are turned off by default. I must mention and right pane which can be
extremely useful. To open right pane click the triangle at the
center of the right Acrobat window. From the right pane, you can search for specific
change, to jump to a specific change in the document or to type and post reply. It is time to mention how to save and print
the report. Go to File > Save or File > Print to print
the report.
To close Compare File tools click on X at
the top right of the toolbar. In case you have some questions or doubt, please
do not hesitate to leave comments on YouTube or on my blog which is DesignEasy. Thanks for watching and cheers. If you find my tutorials useful please subscribe
to my channel and share my videos with your friends..


