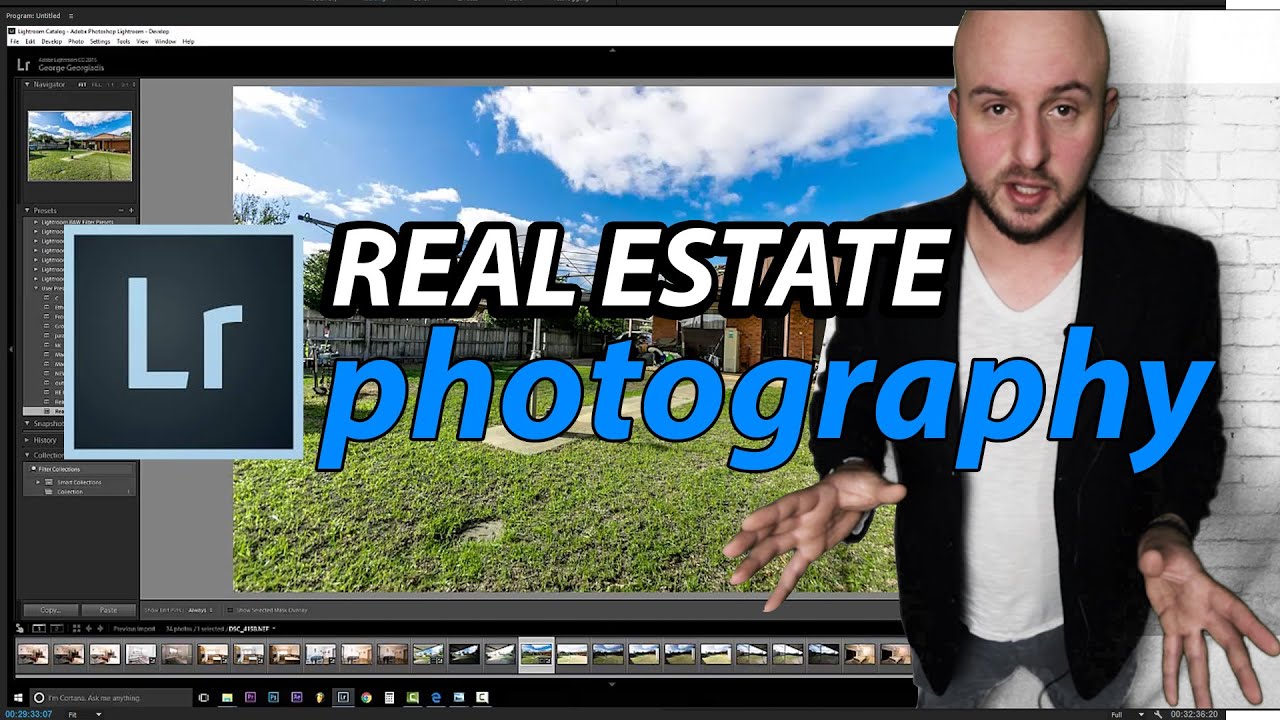
Lightroom Tutorial 2016 – How I edit Real Estate Photos – Tutorial Part 1 Adobe
bhadra 0 Comments Light Room
hey guys welcome to my first light room
video in this video I'll be going through a few of the processes that I
use when I'm editing a real safe rather shoot the things I do is increase
brightness composition cropping white balance stuff
like that just to make the photos of a little bit better before put them into
Photoshop so this is an unplanned video I just shot myself for about half an
hour going through a few photos but I shot lead a pretty low cost house that
we did last week in Melton basically just yet shows the thoroughness that we
use for editing photos and how we need to check every little points of the
photos perfect so you can get the best outcome for your property's listing this
video is also really good if you're a young writer editor or getting into real
estate or want to improve your real estate photo editing skills you might
pick up a few things hopefully you do of the style that I use when I edit my
real safe ride which all my just a very happy with the beginning amazing result guys the tutorial goes for about 30
minutes it's unplanned unscripted I just go over what I'm doing yet it's not the
nicest house I've ever shot but yeah you get the idea of the processes of the
same with a nice house actually there's a lot less work to make it look good you
just gotta take the shop and it looks amazing but with this place here it's
has taken a little bit more work to make the place look good here we go get into hey guys George here from multi-media
today I have about two hours before I have to leave to go to shoot so I'm
going to try and get through quite a few photos that we shot yesterday that may
be sent out to the client let's get into it so what we have to do is just import
the photos from yesterday shoot make sure all my contacts it's a library
library and we're going to click on this plus forward so we're gonna add a fold
up to al Qaeda to our catalog 05 tasty files in a folder on the desktop and
named it the address the house so the one that we were here next to a fire
station right that's the one that we need to do next ok so there's the photos here that will
be working on me to import these into a library of a quick look the house was the lower end budget
possibly a first home buyers as you can see through the photos here very clouded
lots of stuff here on the bathroom sink which makes it look very unappealing
kitchen also has a fair few things around so few photos here we need to
blur up some private photos we also have a few shots the backyard which we
microbe down just to get rid of this stuff here the backyard shock master bedroom I took
these photos and it was an older couple who were obviously getting ready to move
out probably the house was really really clouded and they've done a lot a lot a
lot of cleaning and tidying up before we came to the property the agent said he would be lucky to get
two photos at this place that were good but yeah we looked up in surprise said
surprisingly that cleaned up a lot of the clutter and mess so we yeah we went
around and we talked about I think it was 10 to 12 photos with the master here
I thought little bit of natural light in so we are putting up the European up the
blinds just a little little bit more national audience to make a little more
appealing and there's the front side as well which we have a car in the shop
which we can get rid of as well and I'll show you all the processing to do this ok so we go to a first photo library so
first photos I take Sri bracketed exposures want it at whether made up is
trading at exposure than I do one that's under exposed and one that's what I can
do with that is I can know I can blend multiple photos to get off so if I
grabbed all these three whole shift click right click and merge horatio this
is going to merge the best exposures of all 33 photos if you notice here on the
right hand side we've got a little bit too bright and in other areas it's too
dark so what this person styles is it merges the best exposed parts of each
photo to create the ultimately exposed photo which sometimes I'm capable of
doing in the actual cover myself so I'm going to merge those just be careful
disco sometimes it actually emerged as the photos and they're not aligned
properly and creates a blurry look so here it is exposed a major just press said Zuma in
and check out the actual clarity of the photo she looks not too bad he needs a
lot of work that ok what I usually do is click over here to the development and
we will have good a preset here which is called real estate in Tyria click on these it's going to learn all
the verticals and put all of the effects on there are usually do so I just click
that and banking it's gonna fix all these all these different variables the
only thing I usually do custom is the white balance are you I get the speaker
wire balance come up and click it on a white area in the room so in this case
the roof and should fix the white balance to look a lot more accurate ok
as you can see here has a lot of things going on which we can talk me up but the
process and reuses I bring the photos in July room and then more during Lightroom
is fix all the broadness and the competition cropping accept calls
alignment Allah and then after all the all the photos of other persons he done I don't move it into Photoshop day
clothes off and give fewer get rid of a few little things like these codes here
and yea blow out some photos like these ones here yeah so this funny how much is
raised exposure slyly just to give that little bit of a bridal as you can see
here the hallways slightly slowly da carpeting so what we gonna do is just
grab this brush tool turn the exposure a little bit moms
gonna Spain over that slowly just to add a
little bit of brightness down there to make it look not so dark and gloomy
slightly more inviting its very good que pesado to the front of this coffee table
slowly doctor is gonna find over the front of that looks like so just to
bring it up spilled over a little bit here so I'm just going to not just
brightens up the phone and a little bit this photo is unfortunately not sure
I'll check the news check the black-and-white point so when I hold Alt
and click on the black point here it shows me where the pure blacks in the
photo are so many of these pillows here we have few black and on the lights here
we've got some pure wides to raise the slightly because you want some some
what's the popular and closed down a little bit looking not too bad scroll down have been turned down those
up a little bit as a little color to the to the CAPTCHA can also just mute the orange slightly
but we got mine is 10-10 honest 10 almost 33 next step is to scroll down
and just manually check these verticals ok so this slightly off as you can see
around this area here when the launch go on it the gap is slowly being on the bottom so
what we want to do is just pull this back a little bit nothing except for
this this picture which is obviously mounted on the wall so there we have it
so first picture brightness Tom we're just going to go to the click on File
Export and I'm going to call this one what was the name of the house again to
r5 Station Road 205 Station Road Melton west but in Sao Paulo finals choose a
location that stop 2005 station yes look forward to our Terms and that one off
and that is now waiting to be photoshopped in that folder that we've
got the next 40 bathroom ok this phone is a little bit straining on sale goes
with a filter it automatically aligns the very coarse doesn't analysis and
make sure all the gaps around as you can see the white balance goes off quite a
bit of running a little bit so that cause of exporting that lost file photo
why area with the pickup looking much better just going to
brighten up on this bench a little bit doesn't quite ugly but you wanted to
look nice inviting nobody really wants to see a doc and gloomy space they want
brightness want to look nice and bright and inviting this posture and could do
with a renovation she really wanted to that is up to the nubile to decide you're just trying to stop a little bit
just to make a cool little bit more inviting looks a little bit dark and
gloomy under that this year's lightly are exposed the curtain so when I make
another brush and just put it a little bit under exposed and these we always
should enroll so these these files have quite a bit of leeway with running
docking them talking them up what happens is the computer stores a
lot more information when you're shooting in RAW bring the highlights
Dallas Wiley bottom section has a slightly documented
the top so just rise up the exposure be there blacks and and a few more whites looking
a lot better than it did at the start here we have our foreign off to find out
as you can see that the vertical straighten up next to the whole lot
better are the shower screen here still looking a little bit dark but yeah i'd
give it a broader Standard a suspension was really made this photo look a lot
more appealing and in Photoshop to weaken need another few of these things
here just to take this photo to the next level again we have a side-by-side
version yeah I might just put a little more brought us to the bottom of this
subject up like point with quite a few blacks in their points there there's a
few little why points coming through like to do is just manually checked
verticals consider look very good no need to change those so we just export
the same settings we have ok so that exporting process
what that does is it sends the finished photos to the folder here and it creates
a sub folder called finals and this is my edited photos and actually names of
setup so it names the filed the the name the address which makes it a lot easier
to distinguish for agents who may be one or do a quick search of an address to
find the folder and just helps keep your files organized so there you have their
foreign 22 photos that we've worked on so far moving along kitchen fodder for had a
bit more time I would have booked out of russia now we had half an hour to do the
shoot and the agent instructed us just quickly get in there and you know takes
take photos and then we'll head to head off to the next property but if we did
have a bit more time I would have moved a few things like these details on that
but he said just getting there take three shots move along so we just try
and do our best with what we've got and a property like the US under $200,000
the most famous people in there for you agents to do you work your super
salesman skills on these are interested buyers this is this home has a lot of
potential and the the motivator for someone to come will be nice bright
clean looking photos even though the property might not be the cleanest on
the market as a runaway as the line we still want people to come to the open
house isn't dark lovely photos I'm not going to create less of a crowd on the
sofa inspection so our goal is to make these photos look the best I can for you and yet so you can sell more properties
and solvent quicker than this very healthy I'm going to do this on
cellmark's with the talk from the filter out straight up the radicals in the
white balance is completely gone off accurate ratings still looks a little
bit blues you may think that looks better however these oranges are real
and yellows really pumped up so he was just mute those back down again like us
to stay on that minus 15 on the Reds my us on the close to conceive our poll
this down all the yellows in the bench will come down for pull them up you
really see them so what we do is we try to make the kitchen look accurate to
what it looks like a real life however we wanted to look the best that it can
even though this kitchen could be in much better shape with all those marks
on the walls I can I'm not gonna ever move these marks on the walls because
that is an actual physical thing that exists there however me to do something
like remove the state out its ok but I'll never actually change any physical
structure of the property itself because that is dishonest and basically you're
telling a lie and people will come to the property to inspected not see any
damage on the photos and then feel like you're being dishonest with them and
that's present agent I feel like being honest is is it very powerful thing too
so i cant expect another will pull the yellows down slowly on that note to
start working a little bit faster because we've got their running out of
time Gaza but actually leave in about an hour ok so we just kind of brought up
the worst fear they will be dull gonna start washing all this we don't the kitchen so dark and gloomy so was great when the ceiling looks nice
and bright white looking much better than before russia
wants more love that ok just checking the black-and-white
points this dark spot the back there so it
almost time at the white brightness and possibly along this area here little watching part of the roof yeah so quickly before and after next to each
other see this is the before and the after
she's in a blur now window yeah highlights dropdown it is as broad a
little bit at a time I can see that and just changing the water balance I think
I could brighten up the bench a little bit it does look a lot nicer in this one
it's really brought out the grain in the wood a lot more and our role it looks a
lot more appealing than this dark gloomy kitchen that we see on the right over
here just touched off the bench slightly but a little brush black and white in the winter of it all
the clarity down just a little bit and shaking as well as manually looking
quite good we're gonna do when checking your vocals just every opera online we
see here is just comparing it next to the actual grid line goes over the FOTA
in this case it's looking quite good so I think the photos are ready for export moving along to the next shot work a little bit faster this time now real estate filter here strains of the protocols my parents rush
hour brown up three of these dark spots are going on here shadows here just continue brush over
the roof and the next table shadow here was the 10th that the vendor
of the house was actually standing over there were some logs casting a shadow
traffic system Photoshop light up but these are the things that you run into
real estate photography which we have to cater for that little extra mile to make
these photos look as good as they possibly can and makes a proper look as
good as it possibly can export sector blackmore points points up slightly
check verticals export long out of different processor for these outside
photos call it will take syria great growth is likely crank up the green the
grass a little bit watch this guy come out with these highlights dropdown yes
amazing slowly to contrast that I think it's because the blacks kohlrabi large
blocks up a little bit why it's down slightly to this one just crop it you know little
bit just get rid of some of that stuff they're better show me about this oil
patch being really much ado about that said slowly overexposed we just put a
little their exposure just slightly in those
areas much better looking pretty good greens couple of faxes grasp class who
want to pull down the actual brightness of the grass you click on the imminence
go on the grass and just pull it down like that makes it a little bit dark
officers pulling down all just only the grains and as you can see it's getting
quite saturated so you want to pull down the Korean slowly put on the yellow
slyly where you can actually do here is turned it the the huge which in turn the
yet on the grounds of slightly it's always good when the graphs of sauce and
luscious gets people excited about coming to see the property and not going
too far with it we just suddenly making it more grain to make you look more
appealing situation on the Blues much as the sky up a little bit to give it that
pop that we go one little brightness on the here very foreign export movie long before
she got two different versions of the shop is the agent asked she actually
asked me why do I wanted to move forward I moved forward to composed of the final
will be better as you can see the close the edge the clothesline on the edge of
the shed so it's good to show edges of where things are situated close to
moving slightly from the shed he are you wouldn't be able to tell where the
actual shed was situated in comparison to other things that's why sometimes we
include little hints of things on the side even though you might think to
yourself as an agent why did you show little bit of the shed on the whole
thing it's essentially add more information to the further we run a
filter on this where you can do it so can run back to the previous photo we
did just update the settings on this out of Interior Optra color settings and
that's going to help me to help me to keep all these backyard shots can system
so now when I click on this one I can just click here going across its gonna
do the filters for me there it is looking really good as you can see the
lens correction hasn't been done properly so if you have to manually
going there on fixed up rotation quickly skim over this with a broad
brush to bring up the house little bit makes it look much more appealing you
little spots over here like this please i want to do also and
more in depth tutorial showing you the actual settings are amusing to create
the precept because in this one I just kind of clicked on the preset and it
just jumps straight into the edited show you how to make a preset exactly what
settings I use and how you can actually allowed rail change them as to what you
what suits you and your style is very important to have your own styles
photographer and other stuff myself which agents are very very happy with
and slowly to he knows I go along and learning and doing new properties always
learning ever and always is cuz if you like this video please click the thumbs
up tell me what you think in the comments
section below and a little thank you