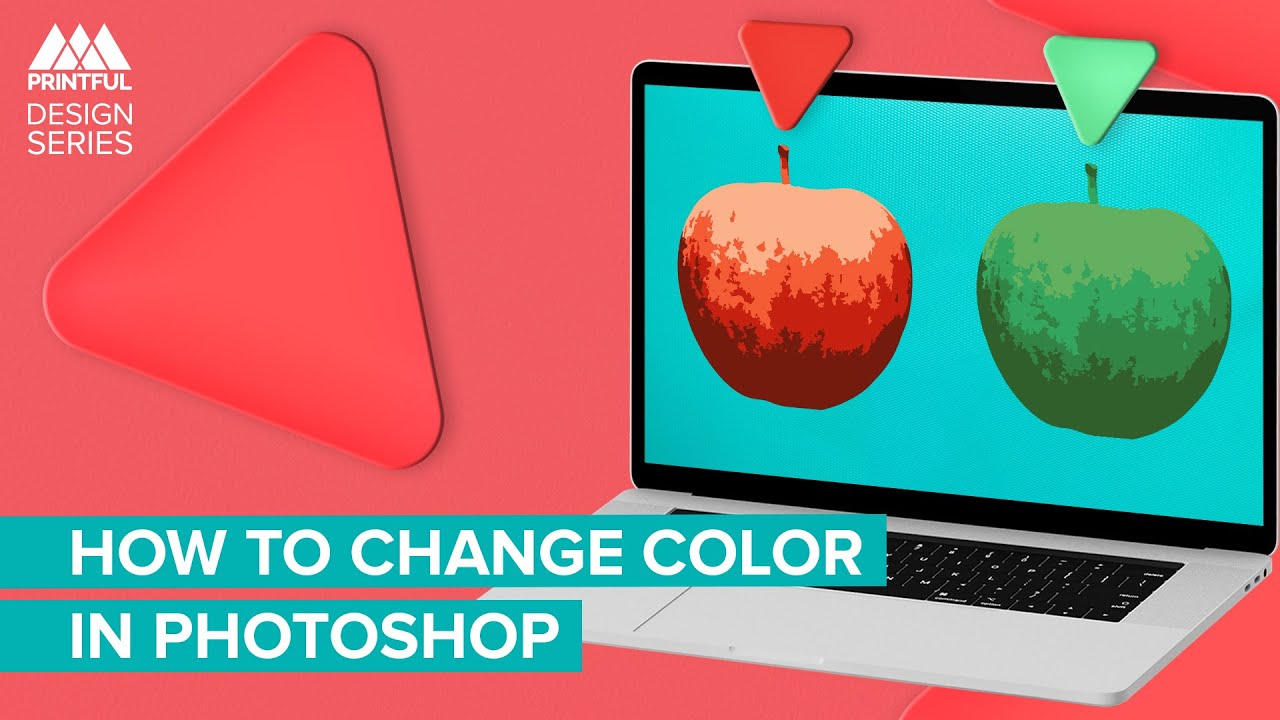
Change the Colors of Your Design in Adobe Photoshop: Printful Design Series
bhadra 0 Comments Acrobat After Effects Illustrator Indesign Light Room Photoshop Premier
Welcome to Printful’s design series, where
we’ll show you practical tips you can use to create awesome designs
for print-on-demand products. This time I’ll cover a very simple way you can change the color
in your design print file. Unless you’re creating a stylized painting,
make sure to place your colors on individual layers. Most importantly always have a backup copy
of your original project. This will save you time if you need to make
any adjustments to your graphic in case you need to repurpose it for different products
in the future. I’ll start by dropping a design print file
with a transparent background into photoshop. Let’s select our graphic from the layer
panel and create a copy of it by dragging it over the plus sign located here. Next, I’ll select the original layer, press
on the eye icon to hide it, and the lock icon to prevent me from using it. This way we can always return to our original
file if needed. I’ll select the copy layer that I’ve just
created.
As you can see the colors in this graphic
are distinct and don’t blend into one another. So let’s look at how the “Paint Bucket”
can help us change them. You can find in the toolbar on the right,
or by pressing “G” on your keyboard. Before we change any color, let’s check
out the “Tolerance” setting at the top. By changing the value from 0 to 255 we can
control the range the Paint Bucket uses to fill a given area. If it’s set to the maximum value the distinctions
of the colors will not be taken into consideration and all four colors that we have in this design
will be affected. Now when we dial it down to something like
55, I am able to change the color within this specific area. Next, let’s take a look at what the checkboxes
next to the Tolerance setting do. Anti-aliasing helps to smoothen the lines
between the colors, this helps to prevent sharp protruding pixels. When the “Contiguous” setting is checked
you will change the color only in the selected area.

By leaving it unchecked the color change will
apply to all of the pixels of the same color throughout the entire design. If you want every new color to be on a separate
layer, make sure that the “All Layers” checkbox is selected. If you leave it unchecked, when you select
a blank layer and use the “Paint Bucket” to change the color of an element of your
graphic, you will end up painting the entire layer instead of your chosen element. With that covered, all that’s left is to
choose a new color for the graphic.
To do that, in the toolbar click here, to
open up the “Color Picker” window. Here you can cycle through different colors
or enter the color code instead. When the right color is chosen click “OK”
and with the “Paint Bucket” selected click on the area where you want to replace the
color. There are other advanced ways to approach
color adjustment in your designs, but they require an understanding of how other tools
work. We’ll look into this in future episodes,
and you can help us with that by liking and commenting on this video. And if you’re new to this channel don’t
forget to subscribe and ring the bell as well to stay updated about our new videos. See you next week!.


