Photoshop Tutorial: How to Combine Two Faces into One!
bhadra 0 Comments Acrobat After Effects Illustrator Indesign Light Room Photoshop Premier
Hi. This is Marty from Blue Lightning TV.
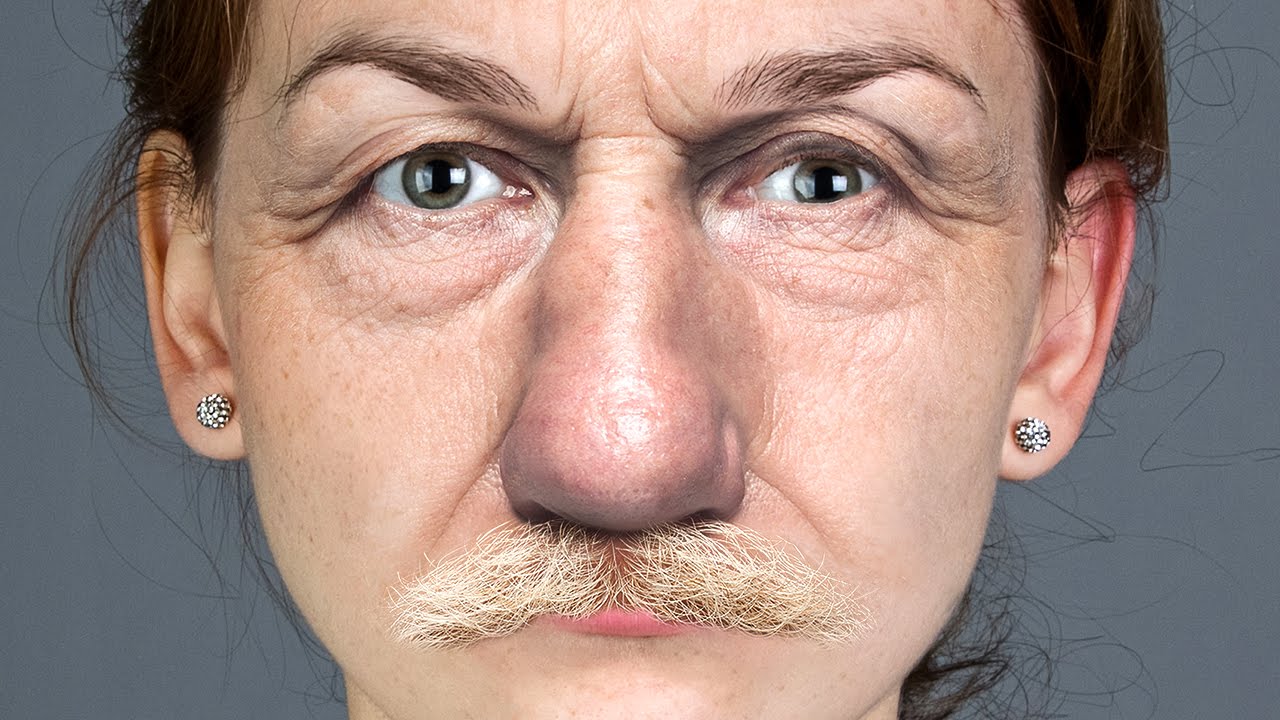
I'm going to show you how to swap faces. The technique can also be tailored to swap just specific features which will create a fun caricature. Open the photos of the two people
whose faces you want to swap. I downlaoded these and the others from Shutterstock.com. Both faces should be focused, be facing in the same direction and be lit from the same angle.
Decide which person you'd like to transplant the face onto
and make a copy of it. To do this, press Ctrl + J on Windows or Cmd + J on a Mac. Open the
other photo and open your Lasso Tool. Drawaround the eyes, nose and mouth, leaving room
around the features. If you want to swap just one feature like, say the nose, just draw
around the nose to select it.
Press Ctrl or Cmd +J to cut the image inside the selection
and copy it to its own layer. To place the face onto the other person, press "v" to open
your Move Tool and drag it onto the tab of your other subject. Without releasing your
mouse or pen, drag it down onto the image and release. Drag it over the other face and
reduce its opacity, so we can see through it. To resize it, open your Transform Tool
by pressing Ctrl or Cmd + T. Go to a corner and when you see a diagonal, double-arrow, press and hold Alt or Option + Shift as you drag it in or out. To reposition it, drag
inside the Transform so the eyes line up on the face. To rotate it, go to a corner and
when you see a curved, double-arrow, rotate it until it matches the angle of the face
under it.
Once you've sized and angled it, increase its opacity back to 100%. Feel free
to finesse its size, angle and position until you're happy with it. Then, press Enter or Return. Ctrl-click or Cmd-click on the thumbnail of the face to make a selection of its shape. Go to Select, Modify and Contract. I'll contract it 10 pixels, however, you may want to adjust
this amount depending on the size and resolution of your photo. Type in an amount that contracts
the selection approximately this much. Make Layer 1 active and press the Delete key on your keyboard to delete the area of the image inside the selection.
If we hide the top and
bottom layers, we can see the area it deleted. Now that we deleted that area, we can deselect
it. Make the bottom and top layers visible again and Shift-click on the the face to highlight
both layers. Go to Edit and "Auto Blend Layers". Tick "Stack Images" and make sure "Seamless
Tones and Colors" is checked. Then, click OK. Automatically, it blended together the
colors, brightness and contrast of both images.
We chose "Stack Images" because this option
works best with aligned layers, which is what we have. It blends the best details in each
corresponding area. The Auto Blend Layers command applied layer masks to each layer
to mask out over‑ or underexposed areas. To make a seamless transition between the
two layers, make a composite snapshot of your image by pressing Ctrl +Shift +Alt + E on
Windows or Cmd + Shift + Option + E on a Mac. Hide Layers 2 and 1 and click the Layer Mask
icon to make a layer mask next to the active layer. Open your Brush Tool and Brush Picker.
We'll take care of the size in a moment. Make the Hardness: 0% and the Opacity and Flow:
100%.
Then, press Enter or Return. To make your brush larger or smaller, press the right
or left bracket keys on your keyboard. Now, brush over the areas that you want to have a smoother transition. This is Marty from Blue Lightning TV. Thanks for watching!.


