More Selection Tools – Adobe Photoshop for Beginners – Class 3 – Part-2, Urdu/Hindi
bhadra 0 Comments Acrobat After Effects Illustrator Indesign Light Room Photoshop Premier
https://youtube.com/watch?v=oOegaBe4umo
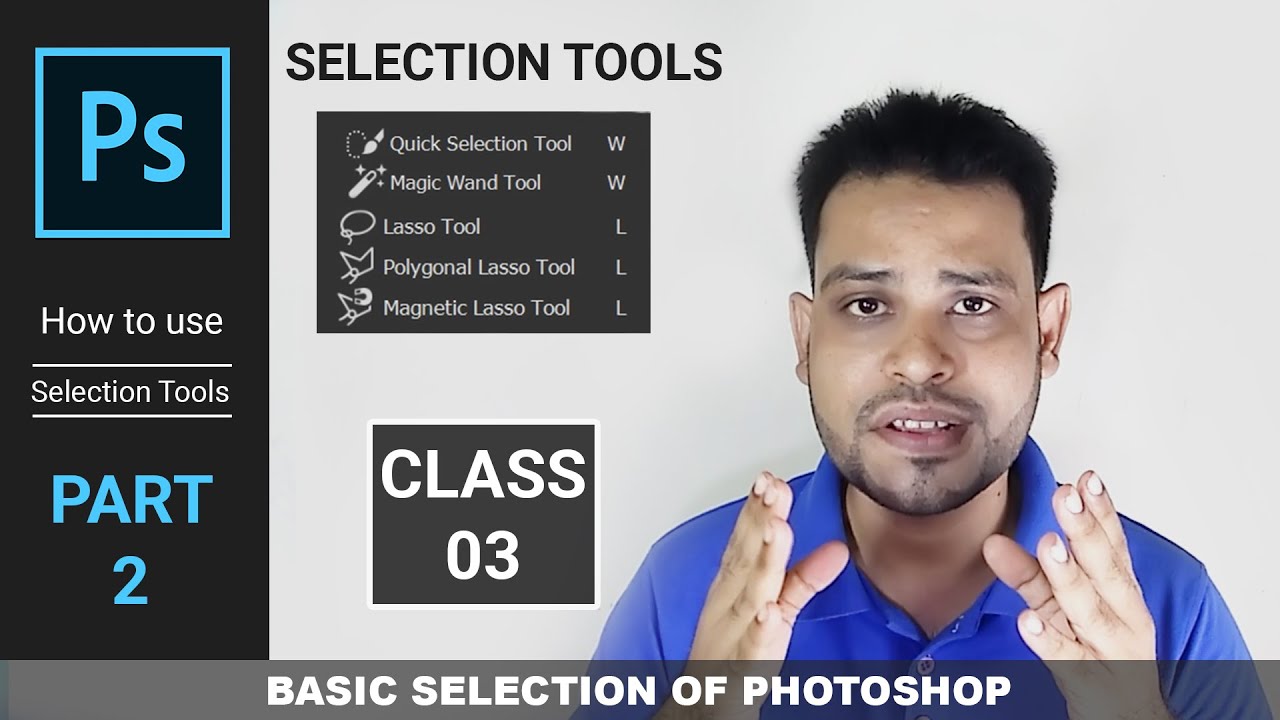
Hi!!! there, welcome to pearl preceptor my name is Muhammad Saleem if you haven't subscribed this channel yet, then please subscribe and don't forget like and share this video in the last video, we had learned about the basic selection if you haven't seen that video yet then you can see by clicking the link right at the top today, we learn more about a basic selection watch the video till the end those viewers who already know about Selection tool should also watch this video till the end maybe something is new for them for better learning experience please watch the video on laptop or PC in last class, we have learned about rectangular marquee tool or elliptical marquee we had learned about some of its options and feathers today we learn lasso tool lasso tool contains two more different tools except it polygonal lasso tool and magnetic lasso tool first of all, we learn about the lasso tool what is a lasso tool? Lasso tool is basically a freehand selection tool when we create a selection with a lasso tool we just hold the left click of a mouse and selection starts drawing in the direction in which we move the mouse just like a drawing on a book with a pencil As soon as I merged it with the starting point of a selection and release the left click of a mouse so the selection has drawn it doesn't have much use.
I haven't used it ever it's just a tool here, so I explained in this tool, you can apply all these options in this tool with the same behavior, with add selection it adds the selection with subtract, it subtracts the selection with intersect selection, it intersects second tool we have is polygonal lasso tool it makes the selection by making a straight line does an on click selection where you clicked first, and where you click after it makes a selection line here I click first and then second I click here the line has drawn from the first click to the second click you can create the second line on second direction its make one more point where I have clicked and that lines stopped there I create the third line on the third direction fourth from fourth we can easily create a selection on a straight line just like this Ctrl + D for deselect Basically, while doing this selection for example, we draw a wrong line then to go back we simply press backspace and it will delete one point again press backspace it will again delete one point it deletes its point by pressing backspace simply if you want to end the selection press escape you can end the line to the point you drew it, by pressing the escape button how can we use the polygonal lasso tool? let's see its example.
We have a perspective image we can select this image quickly by using this tool by pressing the Alt button and scroll wheel on the mouse up and down then it works as zoom in and zoom out let's zoom in the image hand tool is active by pressing the space button by clicking left mouse button we can move our image basically, when will it happen? when your image gets bigger than the working layout for example, by pressing Ctrl + 0 it will fit the image to the screen if the image gets bigger than fit to screen Ctrl + for zoom in Ctrl – for zoom out now our image is bigger than our working space it's not fit to screen at this time now it can be moved easily by using the hand tool but if its fit to screen now it can not be moved by hand tool we create the selection by using the polygonal lasso tool I create first point by clicking here and second and soon on I click the points where I need to and move forward I am creating a rough selection if you click outside from the working layout then the selection point is added I fit the image to the screen, here if you select the zoom magnifier then by pressing right-click and select fit to screen, fit to screen option also present here the selection of this image is done in the last class, I told you to copy the image by pressing Ctrl + C on a selected area by selecting a selection tool when we right click then layer via copy option is present here or we can paste directly by pressing Ctrl
+ V selected area will be pasted on a new layer it will duplicate or another shortcut key we use for duplicate a layer is Ctrl + J As I press Ctrl + J a duplicate layer is created here if we invisible a background layer you can see the selected area in a duplicate layer just create a new layer on a background layer select any color here Alt + backspace now we have magnetic lasso tool its selection behaviour is different all selection tools have different selection behavior use that tool on which you have a grip we have an image of oranges now I use magnetic lasso tool here zoom in the image basically, a magnetic lasso tool contains all options present in it, feather is all available I just click here and it creates a point here it senses the edges you clicked on the object in an image it will mathematically sense the edges of an object and then automatically create the selection on the object As I move the mouse around it automatically starts creating points and select edges while the alignment of the mouse is not correct mouse go in or out but its selection is accurate I just click it by reaching start anchor and the selection is created or this half orange by pressing Ctrl + C and Ctrl + V can be moved anywhere with the Move tool one thing more about magnetic lasso tool, when I was creating a selection here is a width in pixels basically, by default 10px is set here I set it to 50px the reason to set it on 50px is when it set it on 10px and create a selection its sensor work under 10px if I go extremely out of a selection you can see it starts creating points out of the selection I remove the points with backspace and cancel the selection with ESC now I set its width to 50px then it will sense from far under 50 px, see but its a bad practice good practise is to use the mouse cursor exactly with that now we have quick selection tool or magic wand tool what does the quick selection tool do? we see it by staying on this image normal selection is selected at this time this is add selection and this is subtract selection.

It only contains add or subtract selection it doesn't have intersect selection as I press the key for selection and then release the left mouse key automatically it turns into add selection it senses a selection is made already will add more in the same selection can add on this selection and can also create a selection on a new area then this selection will not be disturbed basically, it creates a selection on a brush we have a brush option here we can change the size of the brush you can see depends on your work What area are you selecting and what size brush will be used on it? its hardness and its spacing all these things are here the brush has its own setting we will see it later see its size currently or if you set its hardness to 100 not bad now we have to select this area our brush size is bigger than this decrease the size of the brush then create a selection on this area if it misses the selection somewhere just click again on that area it will select it three oranges are selected press Ctrl+ C then Ctrl + V copy and paste it now you can see it created a very fine selection now we have a magic wand tool let's see the magic wand tool like this I move on a first image create a selection here fill it with red color create a second selection fill it with a different color blue and third let it be white when I click on red through magic wand tool then it will select the whole red area it selects by sensing color magic wand tool basically sense a color it only select red because red color was solid and we clicked on red it selects that area where it sense100% red color it will just select blue when we click on blue color it will select white same as it selected before but we don't have images in solid colors multi colors are used as we have an image here desert place a sky above it that we want to select we click on it through magic wand tool you can see it didn't select the whole sky it only selects that part where it sensed the color if we want to select the sky more hold shift key and click on the sky it will add the selection in add selection also lies here where it doesn't create the selection click again on it it will select that area too its out from here tolerance, if we decrease its tolerance I go back by pressing Ctrtl+Z and then click here you can see now it will not go out because I decrease its color sense tolerance it is not selecting that area where it gets much difference we can simply add selection in it by holding shift and then click one important thing if we create this selection with a quick selection tool let's see what does happen with it let's increase the brush size and then move forward by holding click you can see it select really quickly so I think it is better than a magic wand tool its depends on your hand grip an and it also depends on work where which tool we can be used so the sky is selected just simply let's unlock the layer and now let's delete the sky so when I press delete key it will delete the sky I deleted the sky from here we have a colorful cloud I drag this colorful cloud image to the desert place image window by holding mouse left click desert place image window is open and then release the left click of a mouse so that image come on this image on a new layer simply hold left click on a mouse and drag layer to the bottom position of a layer is changed that image layer is selected Ctrl + T shortcut key as we press the Ctrl+T shortcut key transform option is enabled on image simply I drag it to fullscreen from the top and set the image there where it is suitable you can see how we simply changed the image we almost learned about selection tool today hopefully, you guys enjoyed this class.
along with subscribe button must click on bell icon to get the notifications of upcoming videos Thank you for watching.
Posted in Acrobat, After Effects, Illustrator, Indesign, Light Room, Photoshop, Premier


