Curso Photoshop | Cap: 2 | Las Capas
bhadra 0 Comments Acrobat After Effects Illustrator Indesign Light Room Photoshop Premier
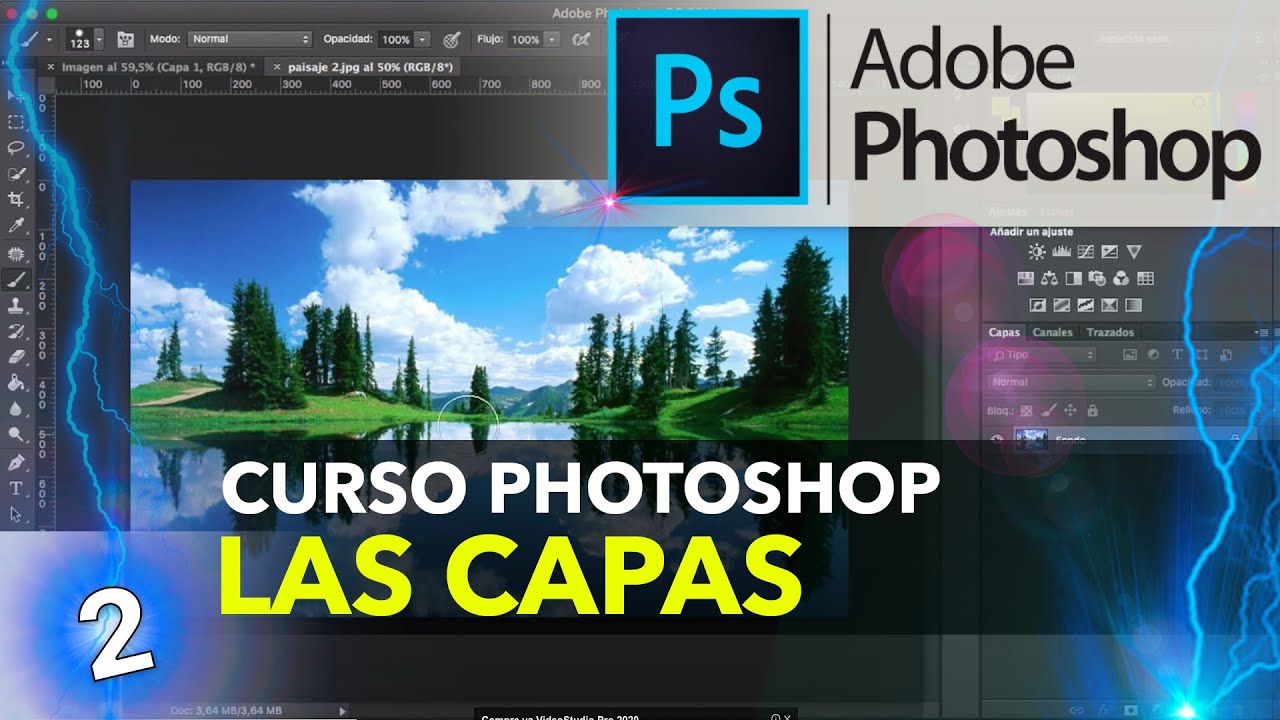
welcome to chapter number 2 of the photoshop course today I bring you the layers it is essential that you understand perfectly what I am going to teach you in this episode since it is the key to the operation of photoshop let's say that This is the backbone of this program so pay attention not to scare it is very easy and let's go there we will go to our photoshop By clicking on the icon that we have deposited in the 'top, it opens our application and first of all what we are going to do is create a new project is to say a new image for it we can do it by going to the bar menu where you put file by selecting the new option or pressing as you can see here on the right the key combination command n in mac or control n in windows we are going to open a new image and this opens to us new menu where it gives us different options to create our new image we can put a name for example we will put an image like this directly we can select the width the height and even the resolution if it we would like to print I am not going to touch anything in these values that come here and what I do tell you to pay attention is the background content, check out here we have a drop-down menu in which we can select that the background of our image is white that is with a background color that we can select the one we want by clicking on this beautiful one we can select with what we want or we can select that is transparent for example well we are going to create a new image first that is white well we are going to give white and ok our image opens, let's adjust it by pinching a little the trackpad the mouse scrolling if you have a normal mouse to adjust it to a size in which we can work at ease if we look at the window on the right we already have included a layer called the background which right now is alone but can be accompanied by many other layers and is what What are we going to do? We are going to create different layers well, look at the bottom menu here to the right of the whole we have an option that if we pass the mouse above tells us to create a new layer well let's create a layer new for example and we have just added on top of it right now we would be seeing the upper layer but what happens that is transparent if you you realize the content of this little square of this miniature comes out little gray squares that means that right now it is transparent and nothing is seen the cirh is translucent it is very important that understand that the visible layer will always be the one above the down that is to say right now you would only be seeing layer 1 because it is above the background layer and this we will now understand perfectly in when it begins to give it color we have the layer that is white and for For example, I am going to select the brush with the letter be and we are going to do it here brush, for example, a red circle like this one that I have here selected and I am going to paint a red circle here as you see I have made the brush bigger or smaller by pressing the control alt and clicking sustained left to right from left to right as You see I make the brush bigger or smaller in a simple way if you moved it From top to bottom, look what changed is the hardness, you see it there and in the layer above layer 1 we are going to paint it for example yellow for this I am going to select the g key which is the little paint pot that is it will allow us to paint it in one go, we will select a color for example a yellow and I'm going to paint it, what happened then that layer 1 is above the background layer and how do I do now to be able to see the bottom layer you will wonder well then look here you see that we have an eye an eye indicates the visibility of the layer when the eye is activated is visible When it is not seen below you can see it I have told photoshop to show me only the layer that has the little eye activated which is the one below, well, here it activated and disabled the layer fine how can I do to work with the layer below comfortably good here you see that to work with the layer below simply what we would do would be to indicate to the eye that I let work on it right now that I already have it selected could do anything for example make a squiggle in yellow if I do a z command a z control is undo ok and if I make a dot here another here another here with a z command I undo the last one and if I want to undo the other two also what I do is a step back which would be to the z command and the zeta command and I have taken steps back you have it here also in editing step back you see it high zeta command just by looking at your edition that you have, what I am doing is explaining the shortcuts of keyboard that interests me that you know them ok I will re-activate the eye to see layer 1 the yellow side as I could also do so that the bottom one would look cute because I just take the bottom layer and He dragged it up you see that a forbidden symbol appears, he does not let me drag it above the yellow layer above, well that's it is because this padlock is activated here we are going to click it deactivate and now it lets me put it in the layer above, you see that it appears there a gray hairline you see there is the change ok well I can drag it above and now the opposite happens now I have the ability what is the color white above the yellow if I want to see the yellow blocking and with my eye I see the one below with this very simple this does not have no complication we are going to create a new layer I am going to place the color one white down I am going to create a new layer we go down here and we are going to create transparent you see has been created in between because they are always created by Above the layer that I had selected I had selected layer 0 and when I gave it to create a new layer he has created it for me here, don't worry because if I want her at the top, I just prick her and drag her up well I already have these three layers created in this order I am explaining everything about the layers look at the yellow layer layer 1 I can make its opacity lower click here where you put opacity you can write it with the keyboard here directly the opacity that you want or can do click you see that the pointer is placed with a little hand and two arrows it means that if we move from left to right you are going to modify the opacity directly and comfortably we are going to create a new layer but this time it will be with a new document that we are going to open and you will say as good as we are going to open a file we are going to open and we are going to select for example landscape 2 this beautiful landscape we are going to open it we are going to say ok in this message always and we are suddenly working with a landscape but the layers have disappeared what has happened here well what has happened is that it has been opened in a new document as you can see here it is called landscape 2 and in this tab I have the project I was working on before landscape 2 we are going to go to it and we are going to select the option that puts up here the tool move this is with the letter v you see that it says tool move vee well I'm going to select the vee and what can I do it is directly holding the click right now I have no hold I can go with the little arrow to the image tab I'm already inside and I still do not release and now in the center of the image I drop it, this menu appears, I tell you that ok and suddenly I already have a new layer created here as you can see here on the right The layer that I have taken from landscape 2 of this document has been added to the I have created good because this document could be closed and I already work with the only one document that I wanted with the one that I have open with four layers here at Right we are going to order for example the landscape layer I am going to put it on top at all and right now if I go taking his eyes off well then here I can activate or deactivate the layers that I am seeing and finally explain the blending mode of the layers that we have here right now I have selected the normal mode which I can change it for example let's put a soft light you see it appears here as a kind of fusion between the layer top and bottom layer like this is transparent does not in fact I could even remove it and it would not affect layer 3 was merging with layer 1 I can also change the mode to go for example to intense light where a strange thing appears here well this don't worry this now itself does not make any sense how we are doing it but it is very useful for work on different editions of different photographs we will go back to our normal mode to our normal blending mode In short, the important thing that you have to stay with in this chapter is the order or display priority of the layers remember that it always goes Let's see the layer that is above in the order in which we have them placed in this window I am going to leave this project as it is because it comes from pearls to explain the next chapter which is extremely important and good as I always tell you, you already know if this has helped you and you like this course, leave me a like a little hand up and subscribe to the channel to lend them pending the new chapters that you publish until then


